
Welcome to Avvy Domains! This guide is designed to help you get started on your .avax journey.
We will cover the following important topics:
Let's get started!
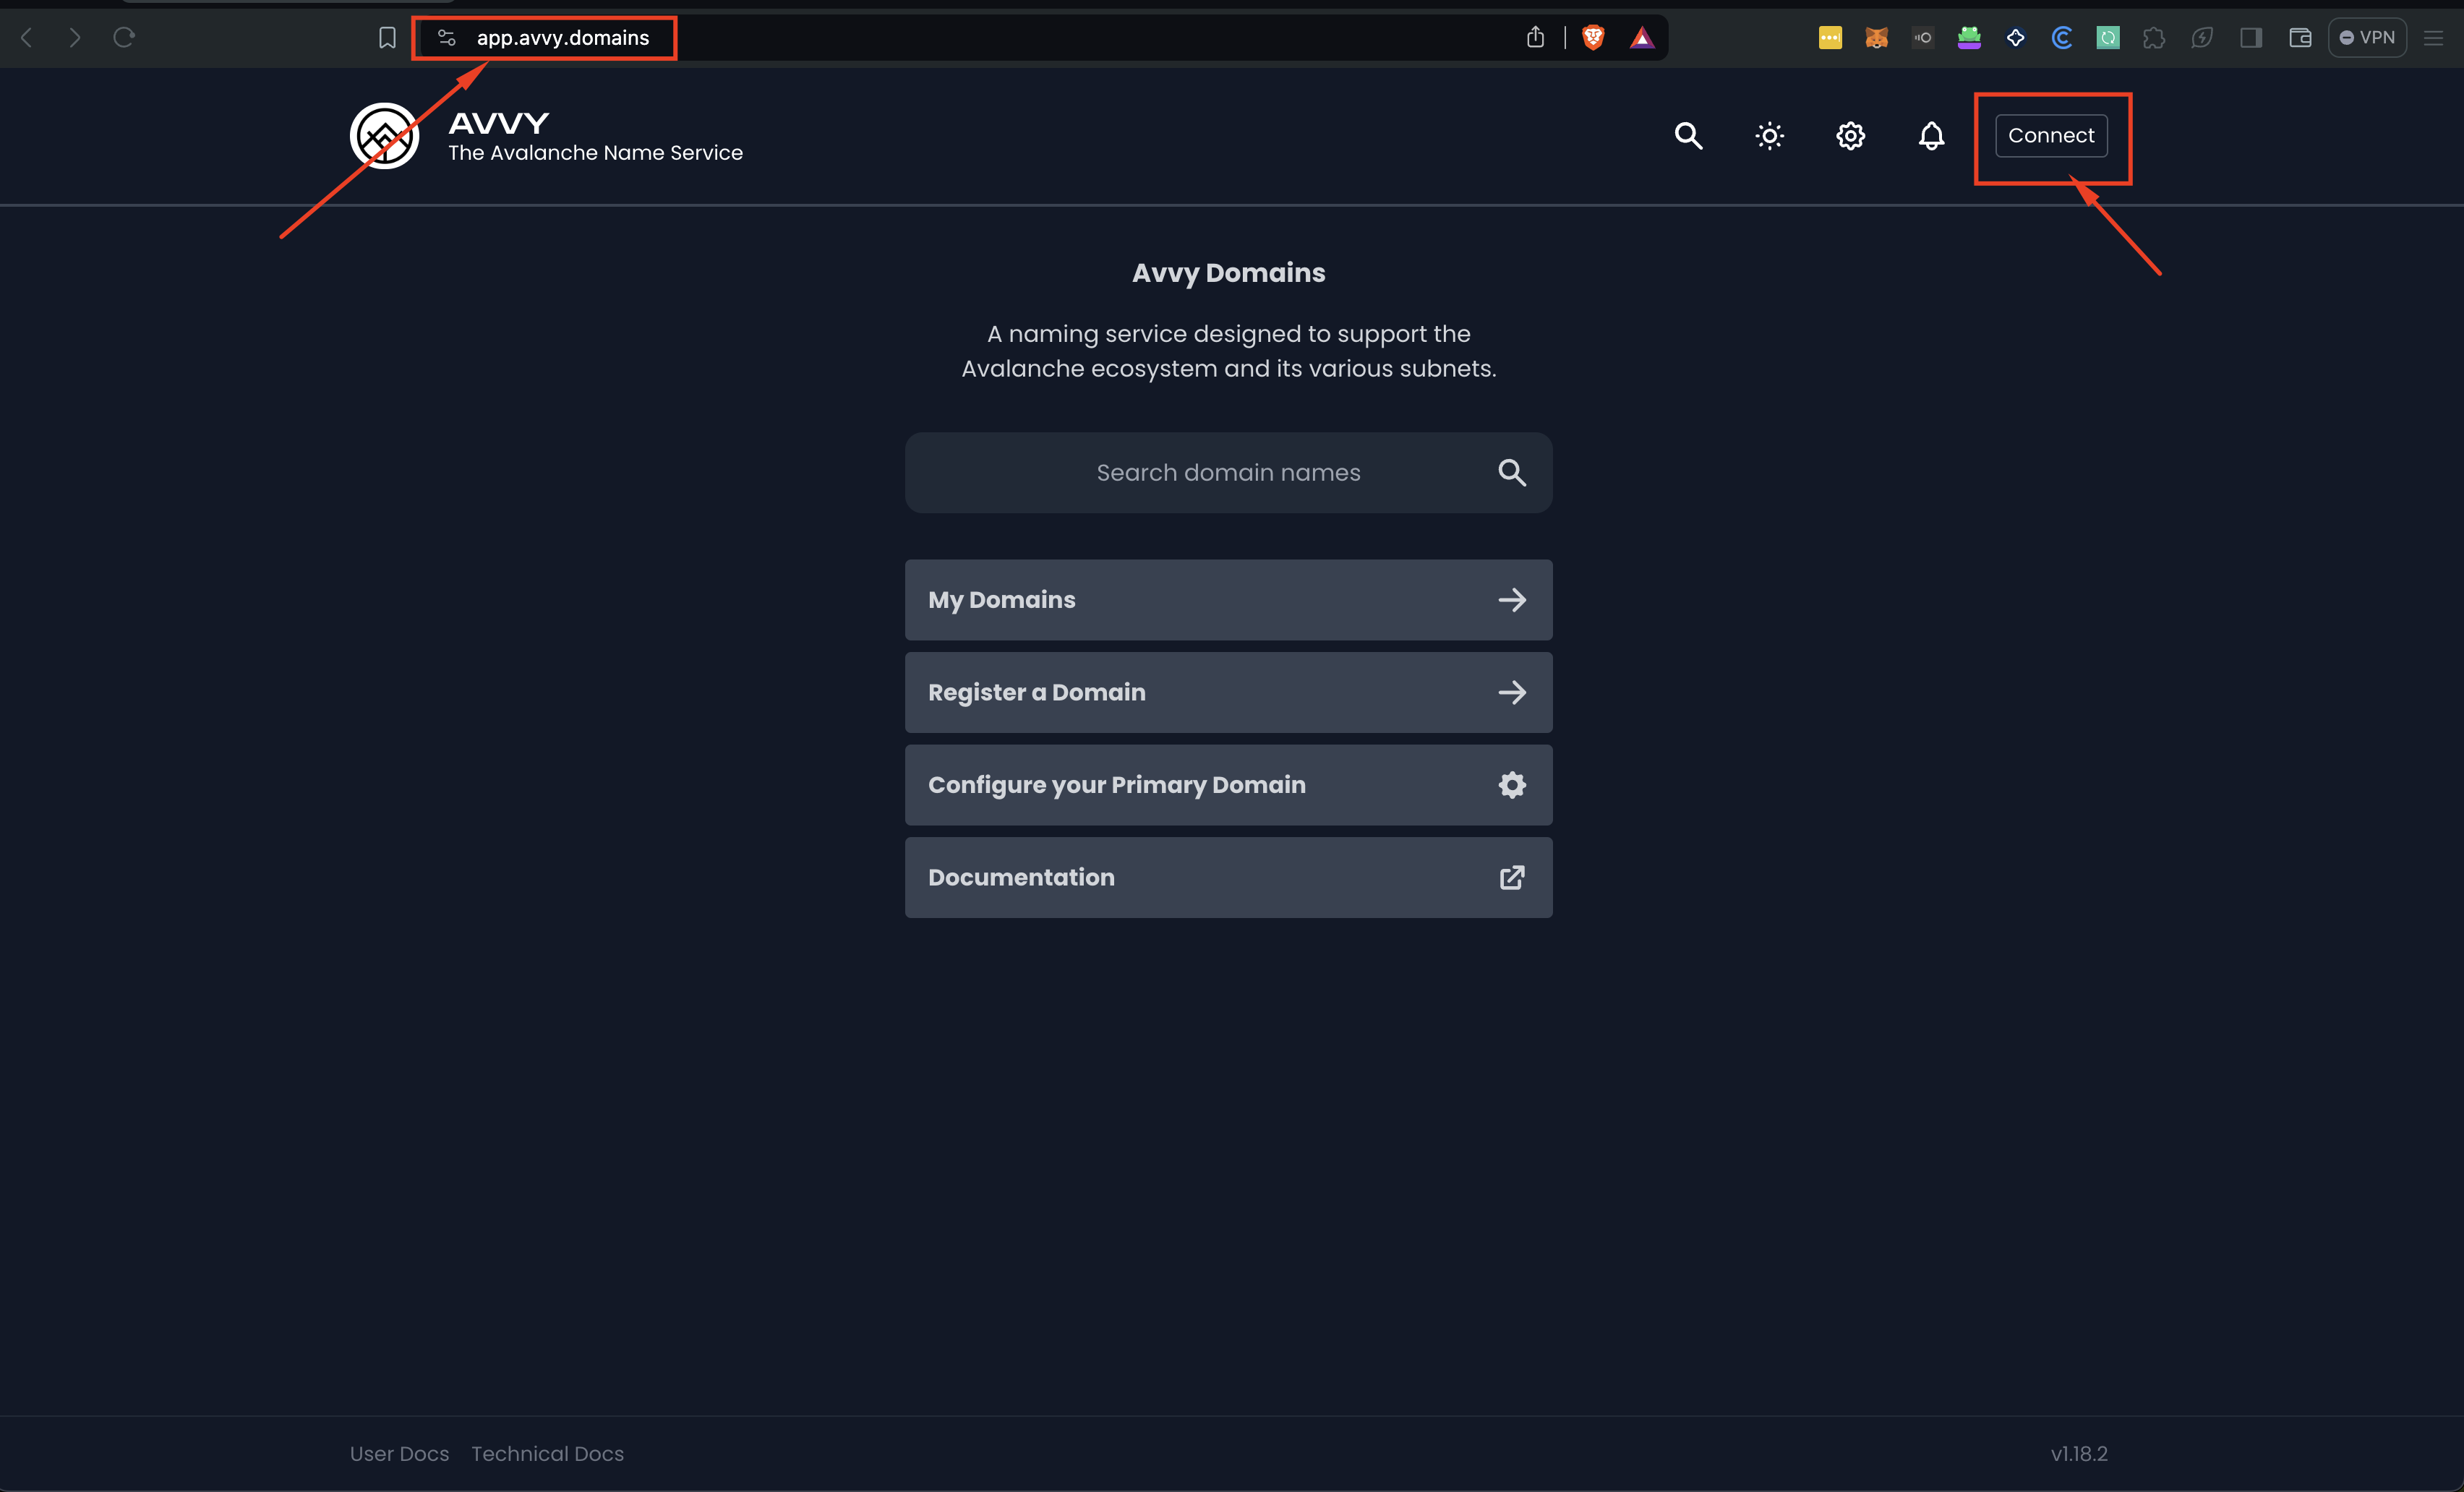
1) Go to https://app.avvy.domains/ and connect your wallet with your selected wallet provider.
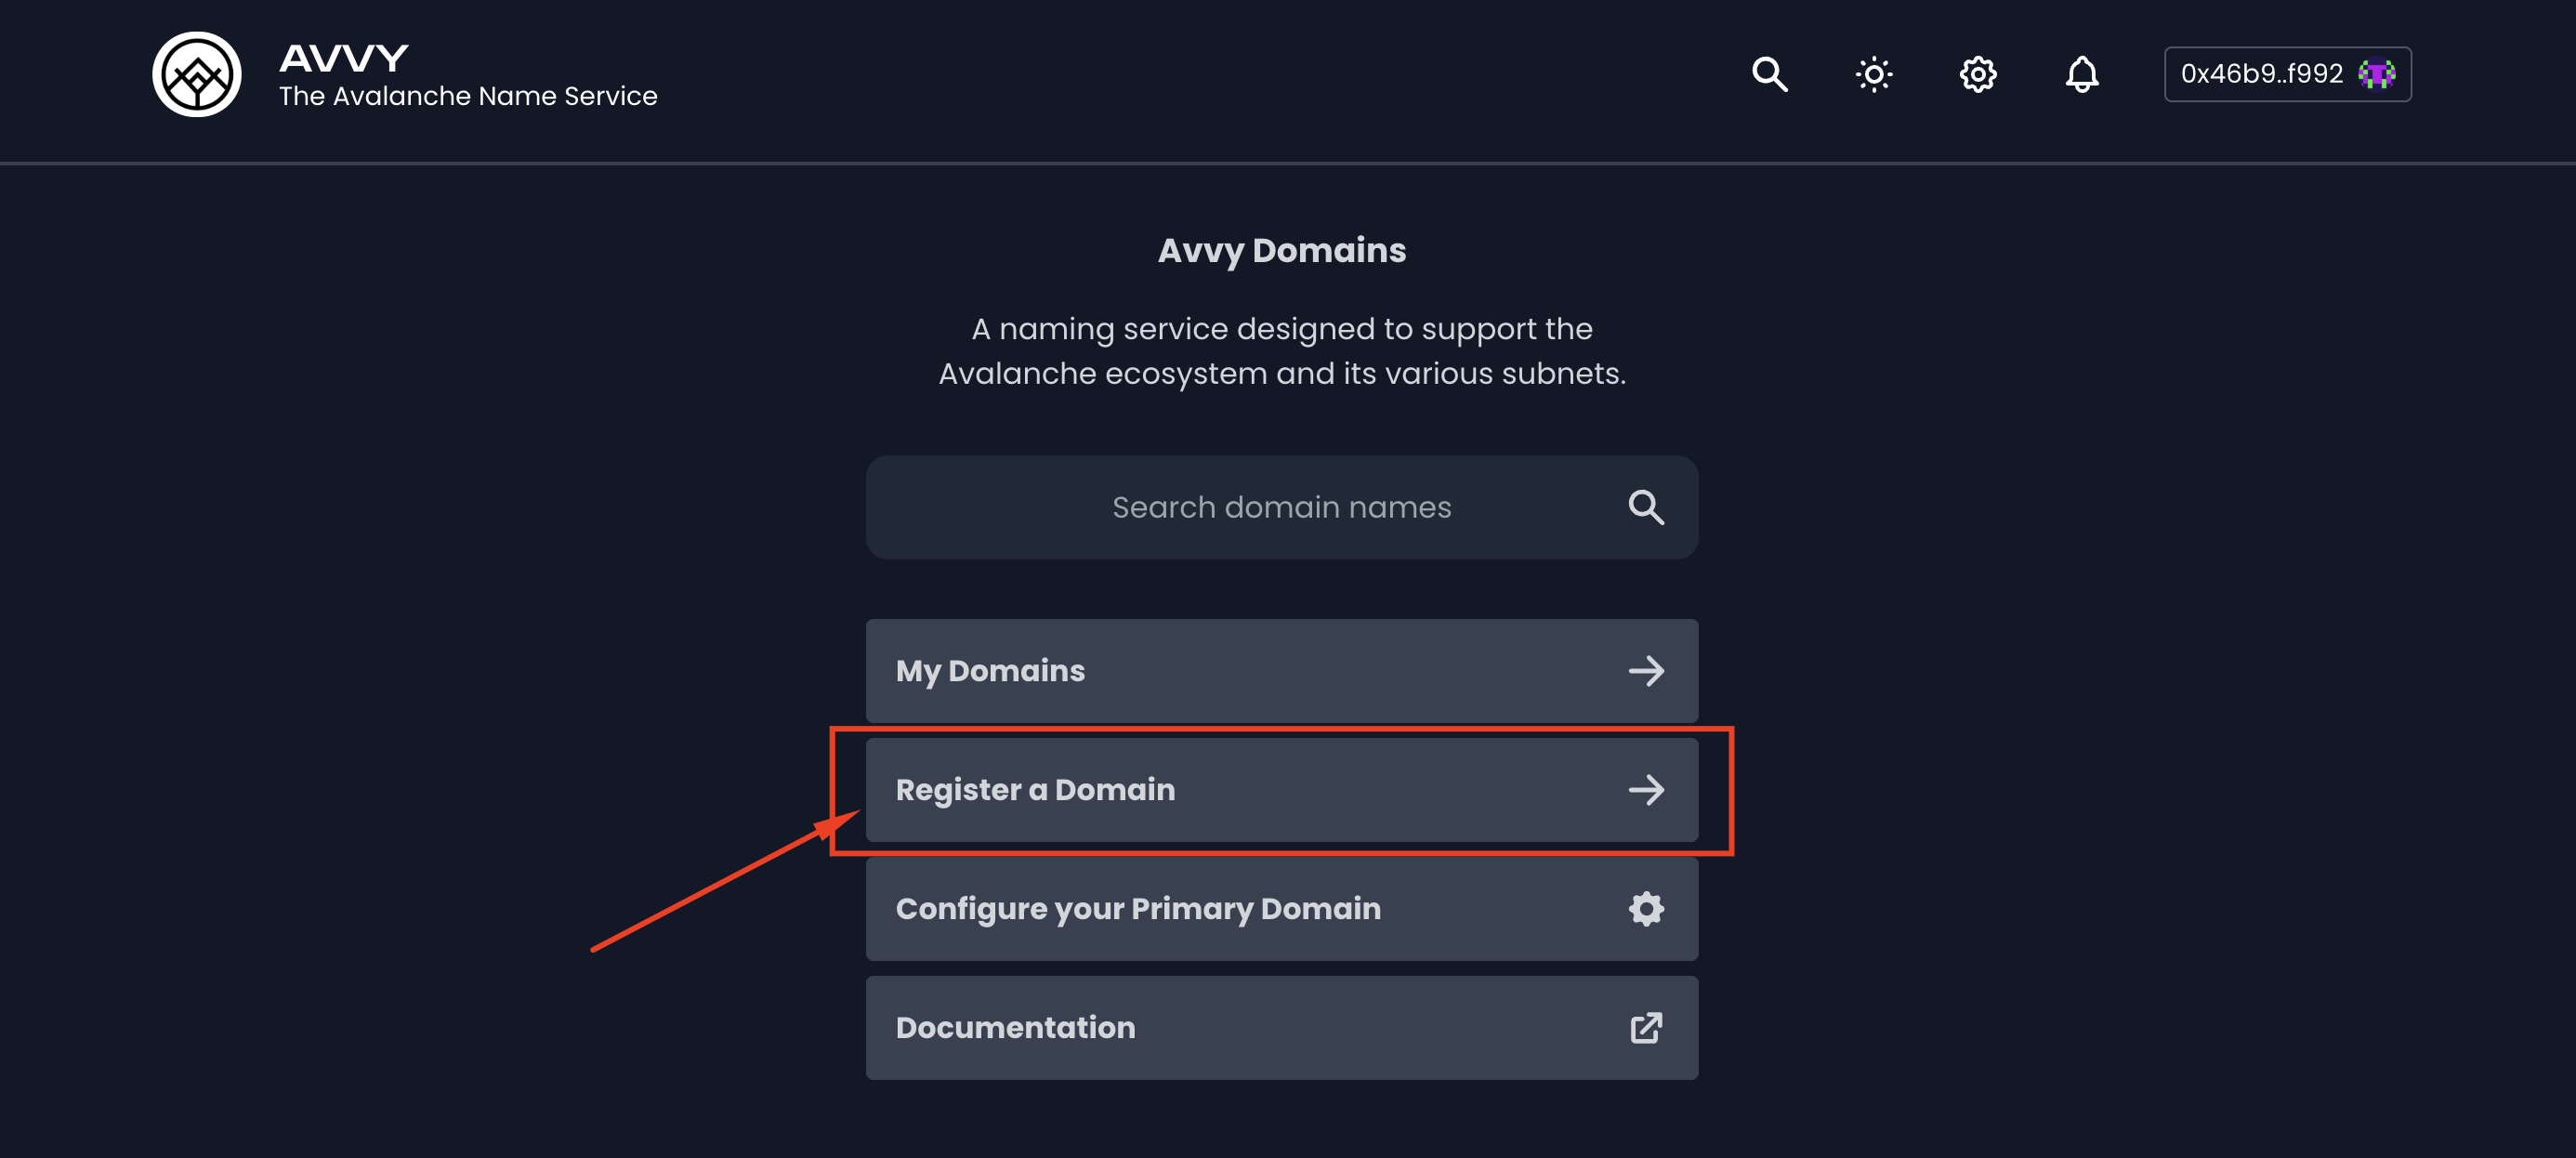
2) Click the “Register a Domain” button.
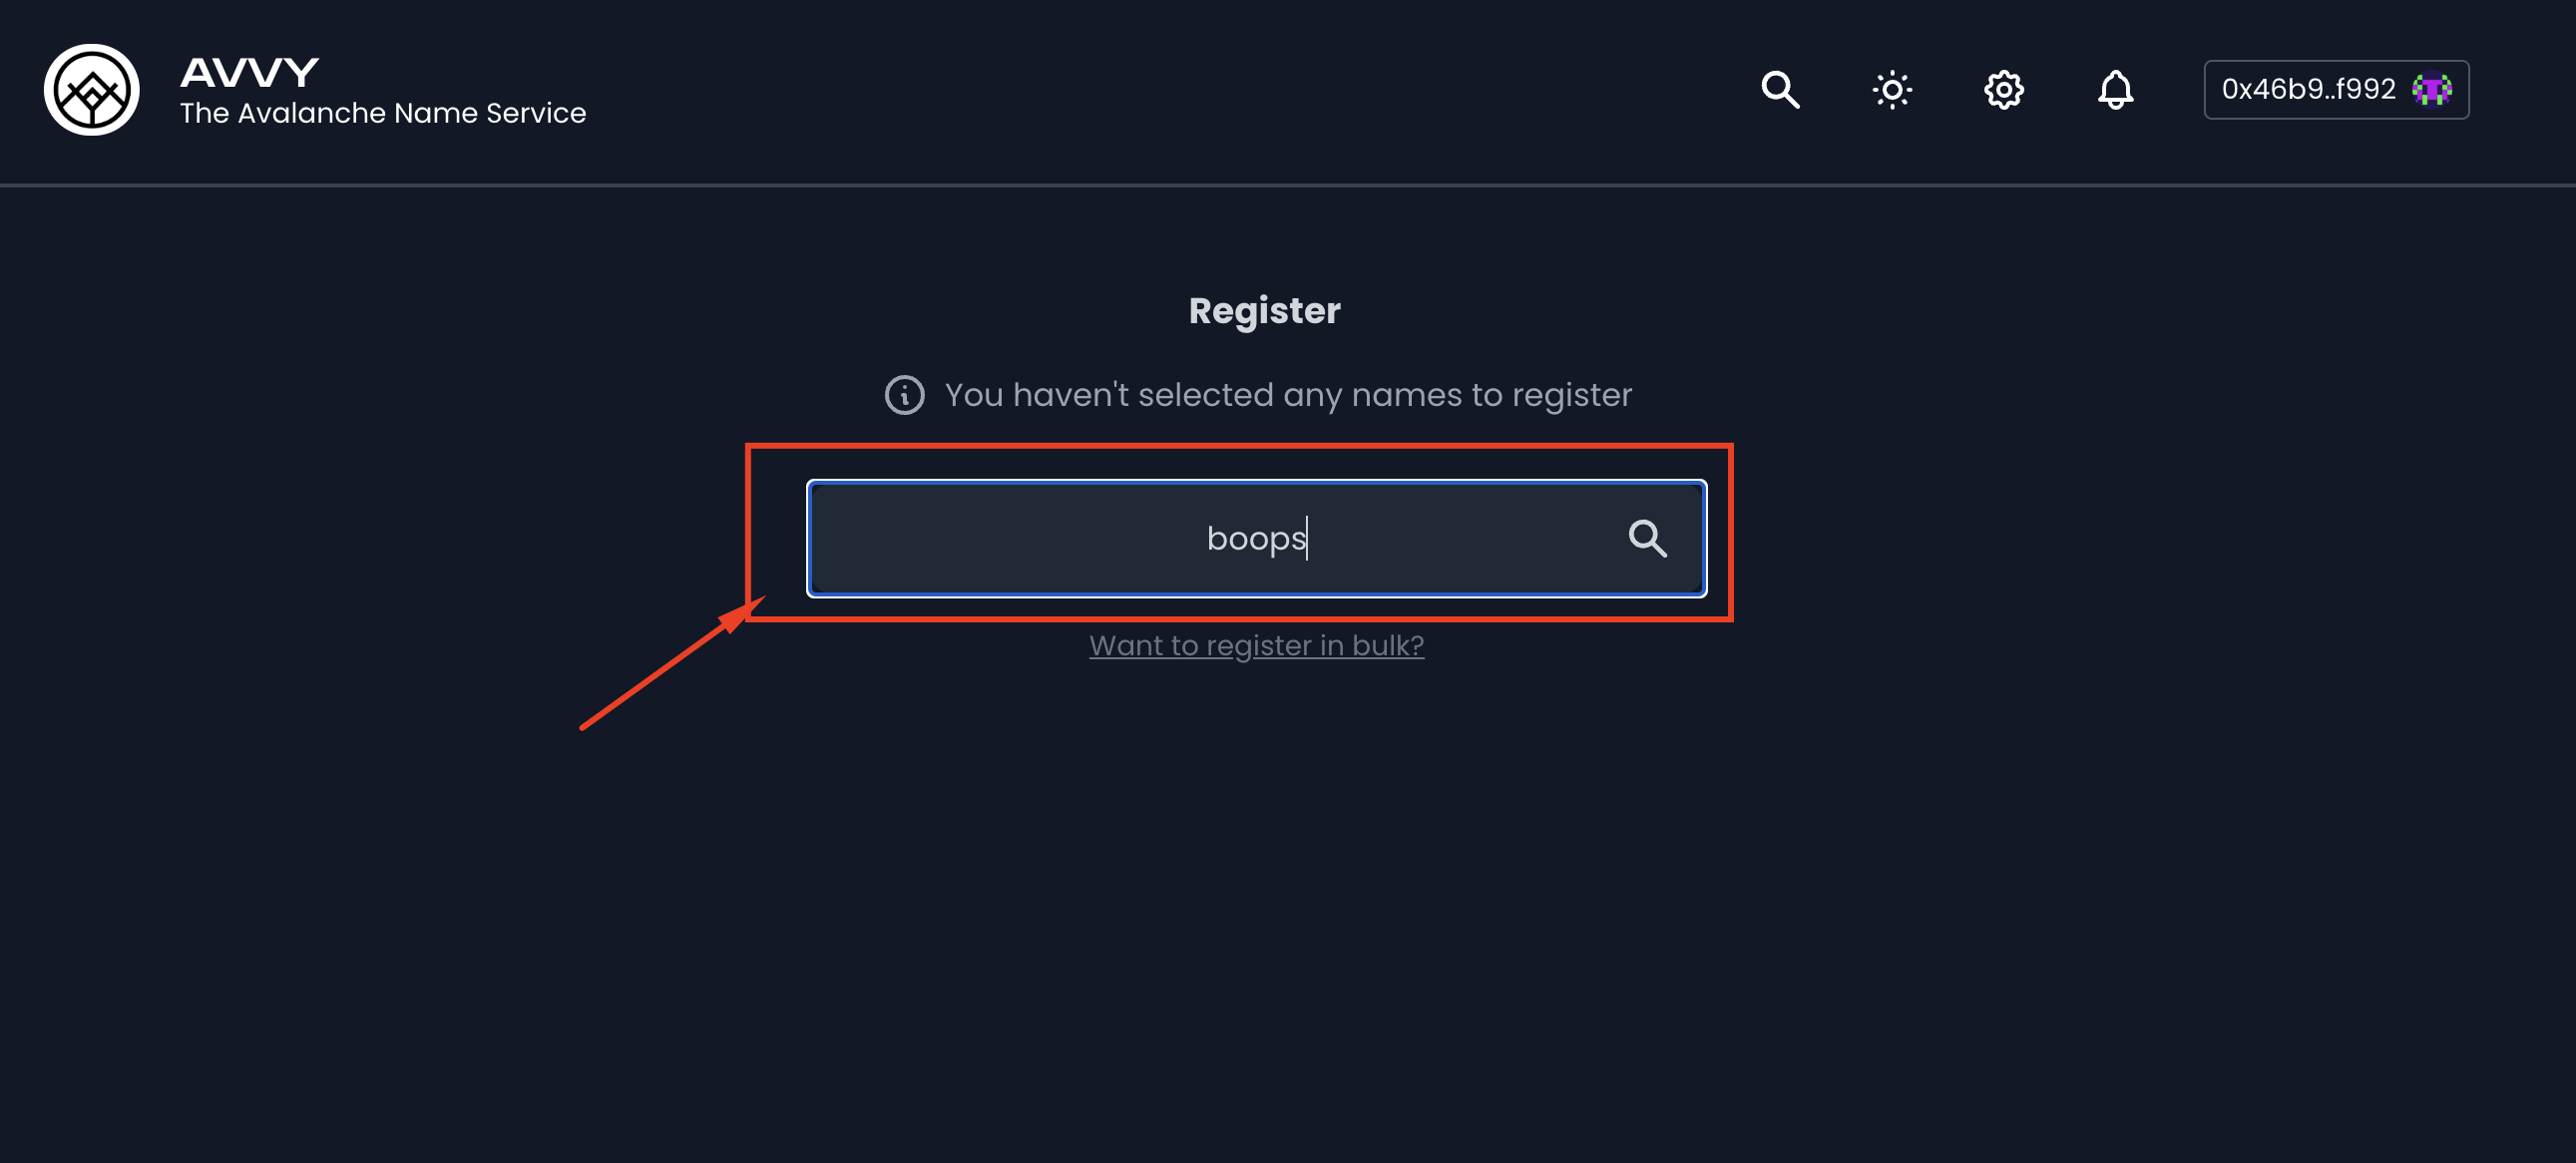
3) Enter the domain name you are looking for in the search field, hit the Enter key or click the magnifying glass icon. We want to register the “boops.avax” domain.
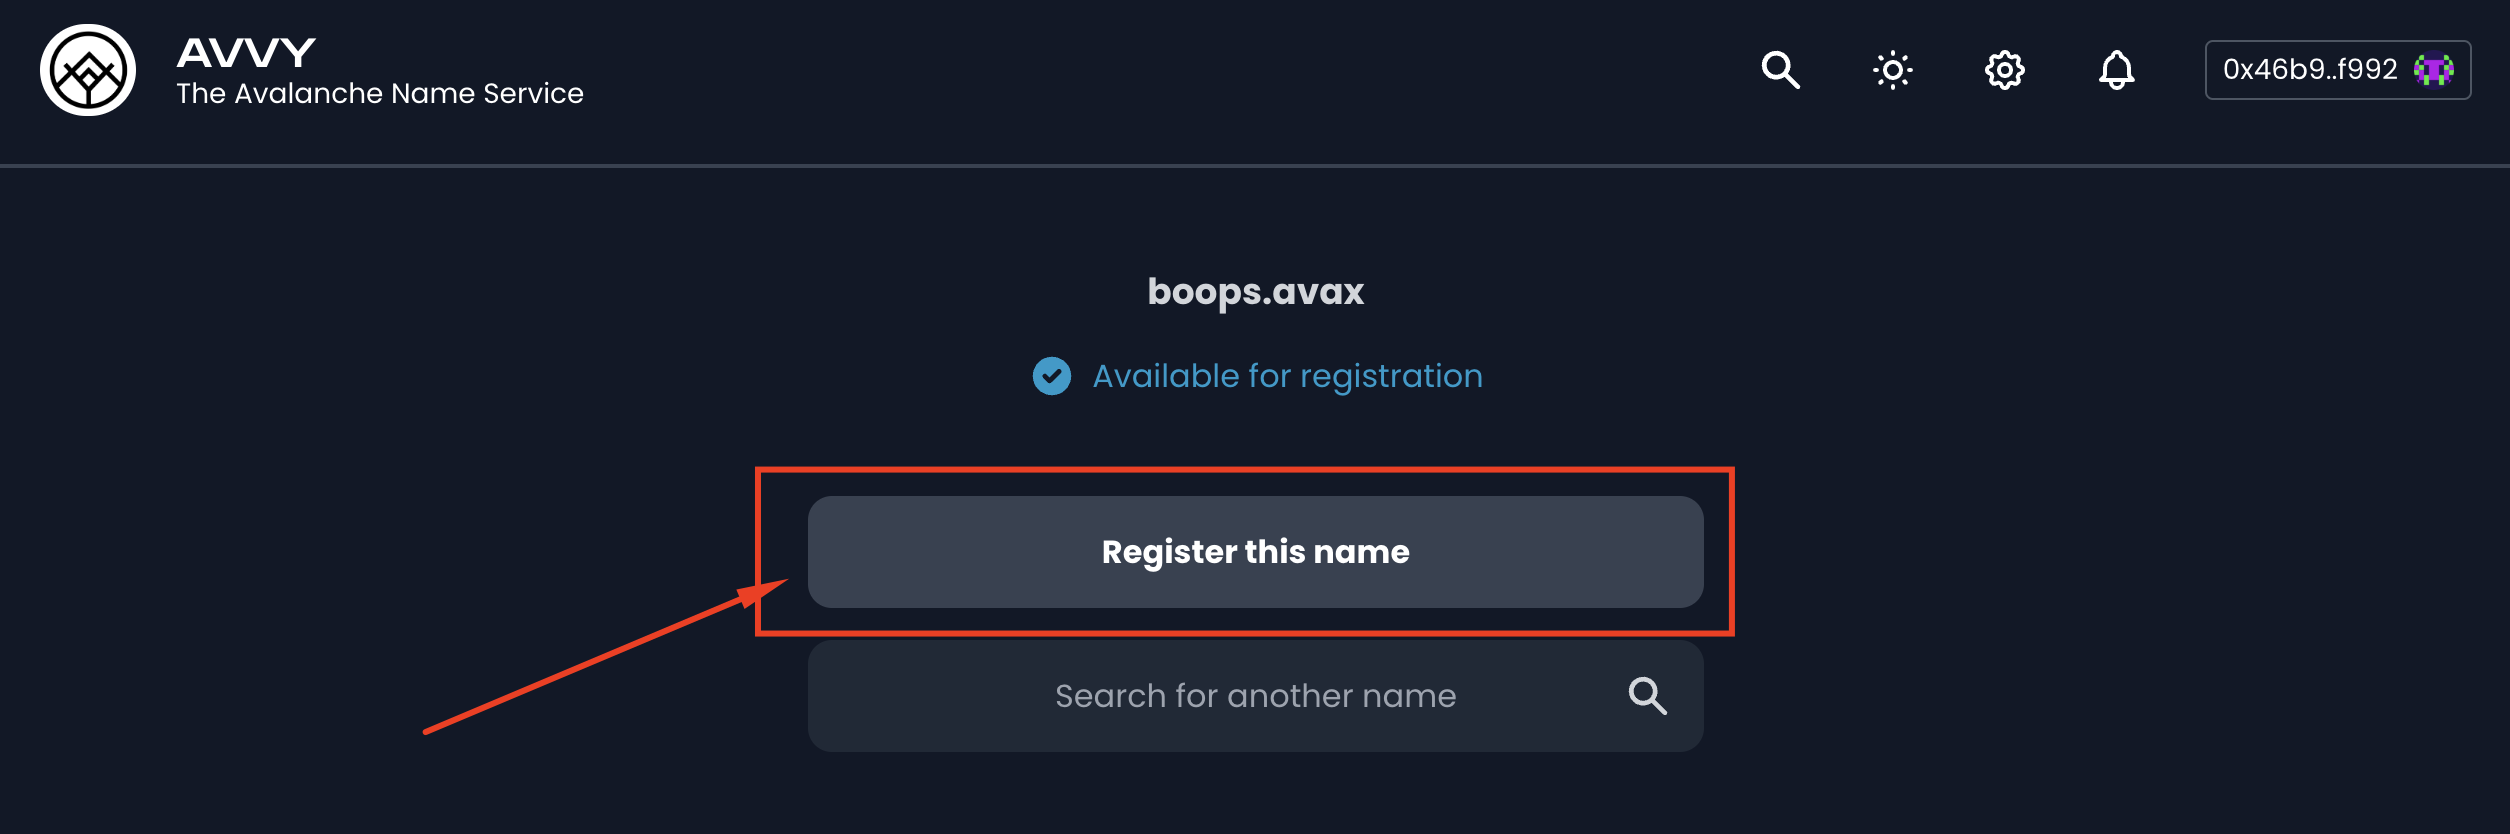
4) If the desired domain name is available, the “Available for registration” message appears. Click the “Register this name” button.
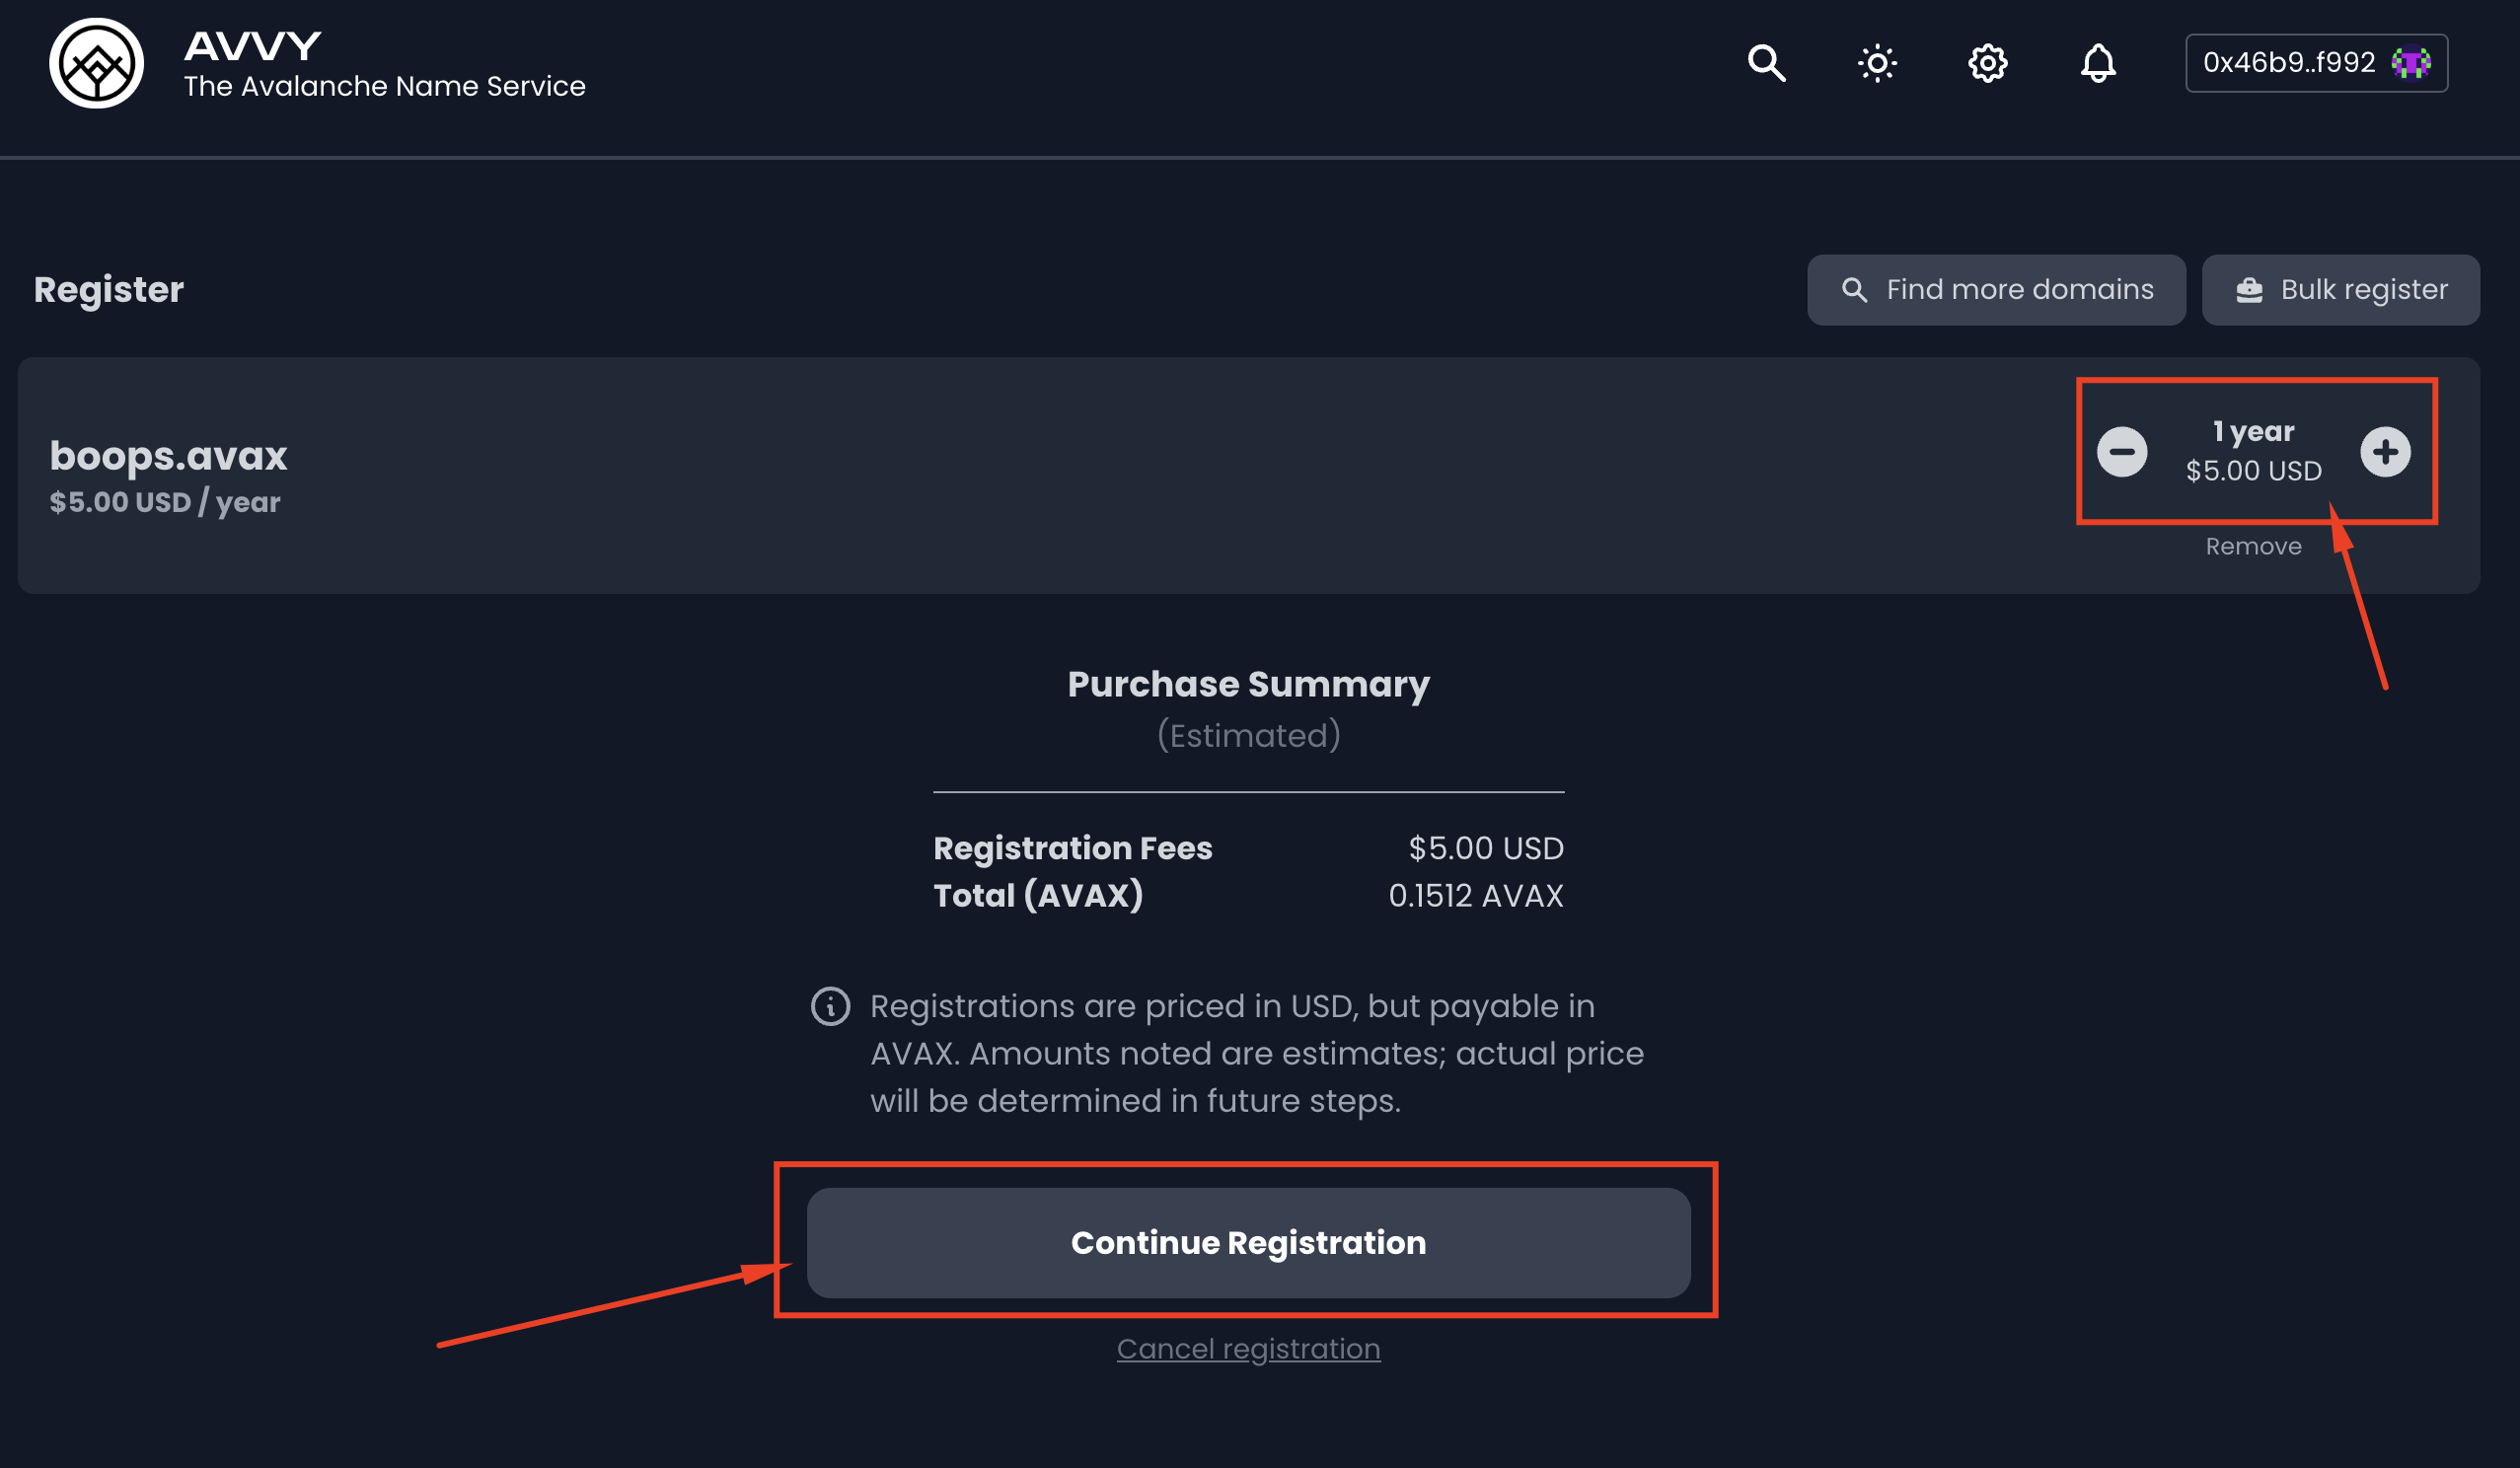
5) Select the duration for which you want your domain to be registered (1-5 years) by clicking the “-” and the “+” buttons next to your domain name. At this stage, you can also look for more domains (click the “Find more domains” button) or opt for the Bulk register option. More information can be found in Used Documentation at https://avvy.domains/docs/registration-pricing/.
Once you are happy with your selection, process your payment by clicking the “Continue Registration” button.
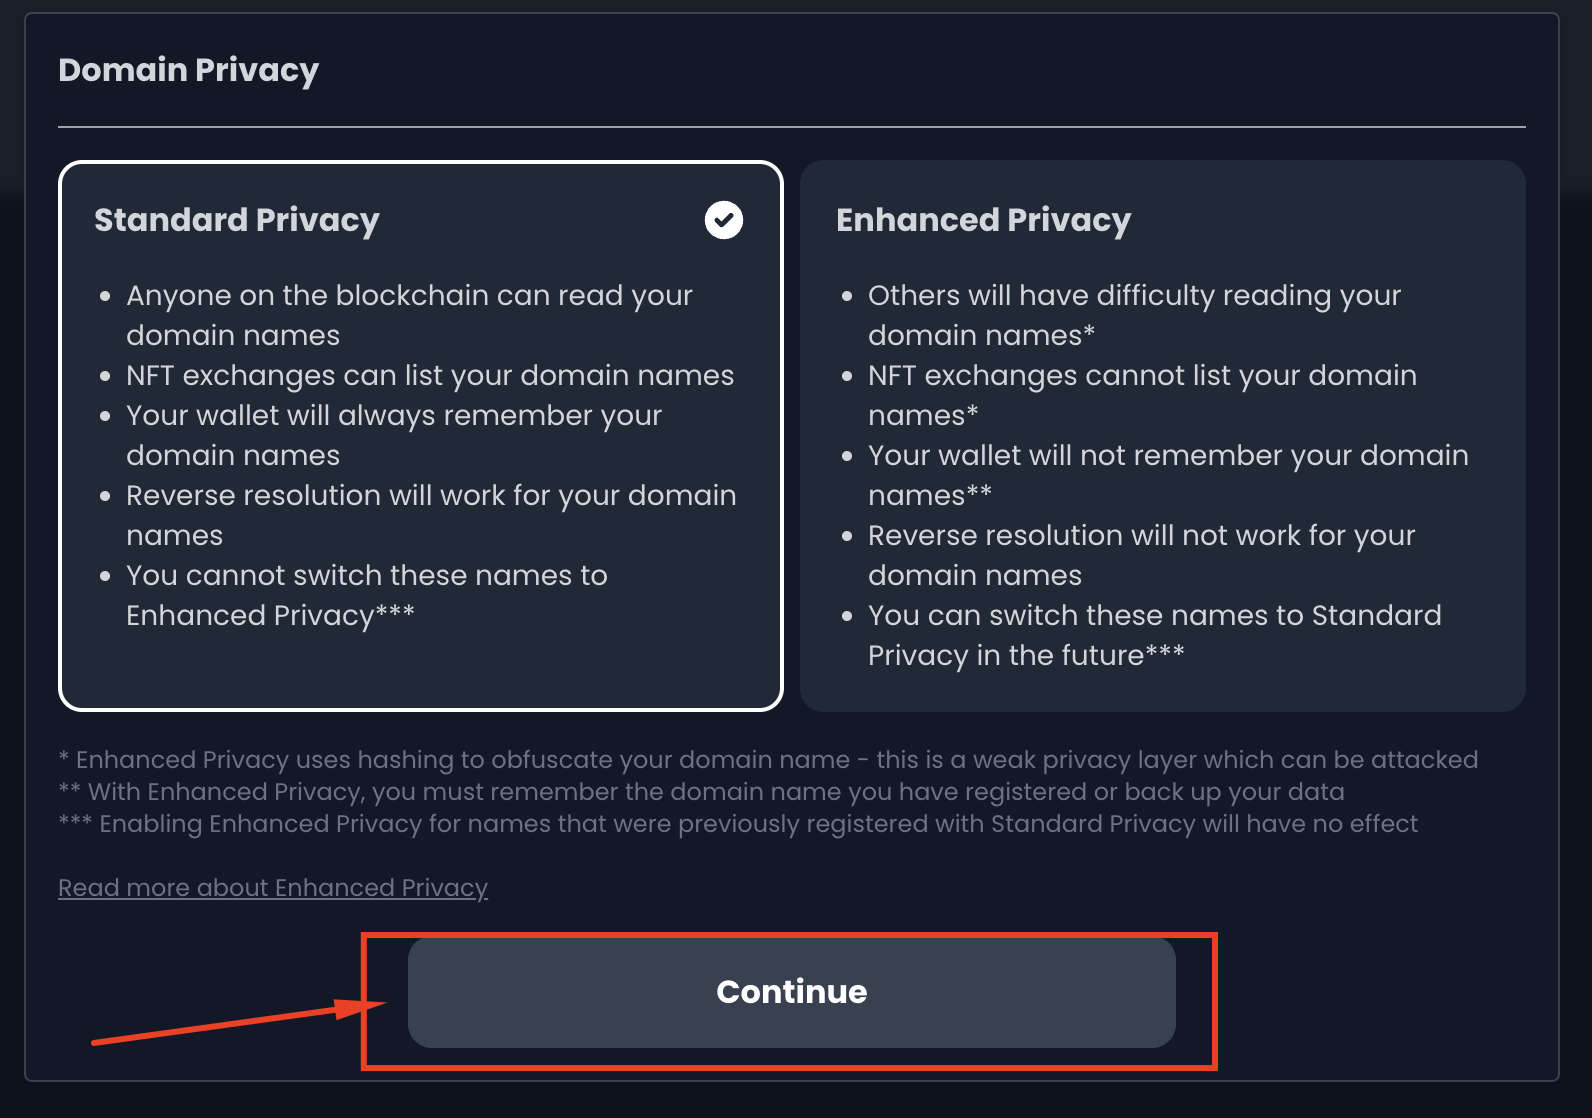
6) Select the level of privacy you want (Standard Privacy or Enhance Privacy). More information on privacy options is available in User Documentation at https://avvy.domains/docs/privacy-features-registrations/. Click the “Continue” button to proceed.
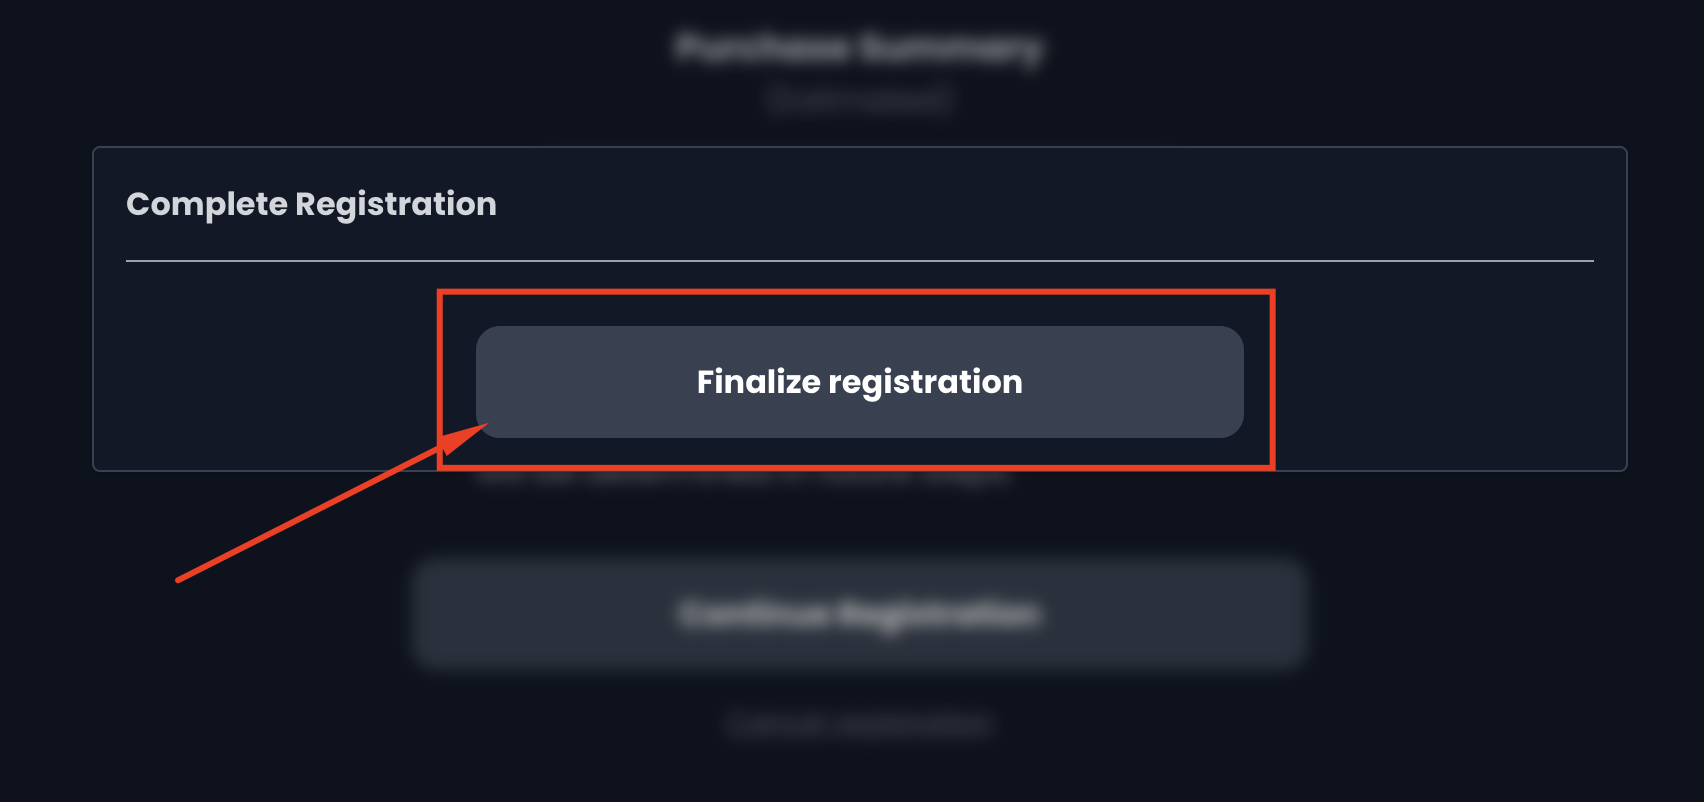
7) Click the “Finalize registration” button to complete your registration.
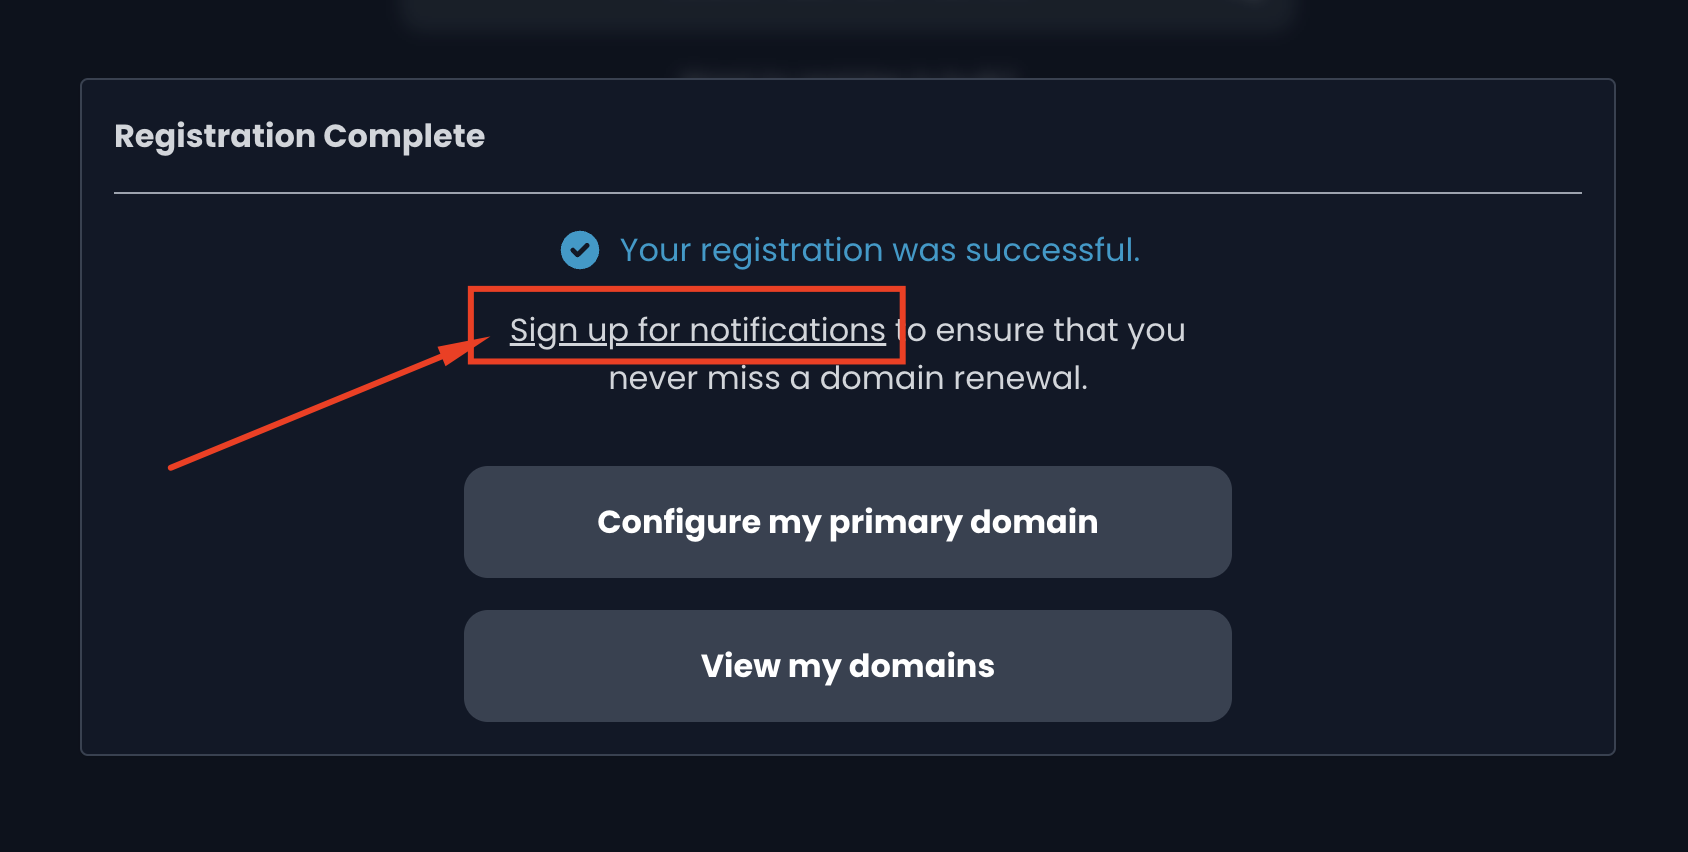
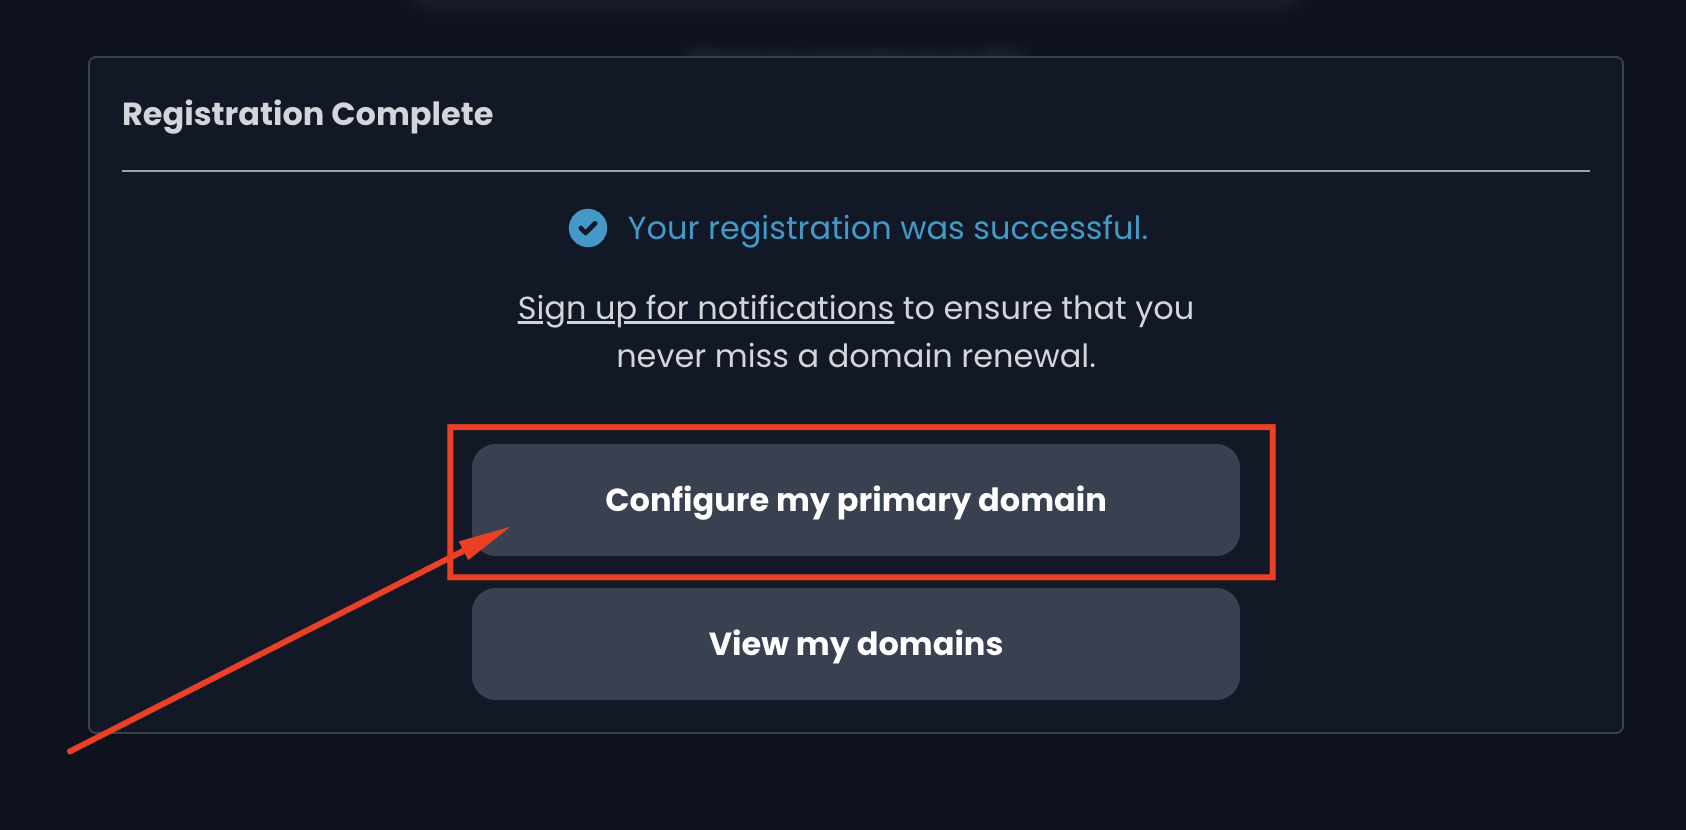
1) In the window that appears, we can sign up for notifications, configure our primary domain for the wallet or view our domains. Because we do not want to miss a domain renewal, we click the “Sign up for notifications” link.
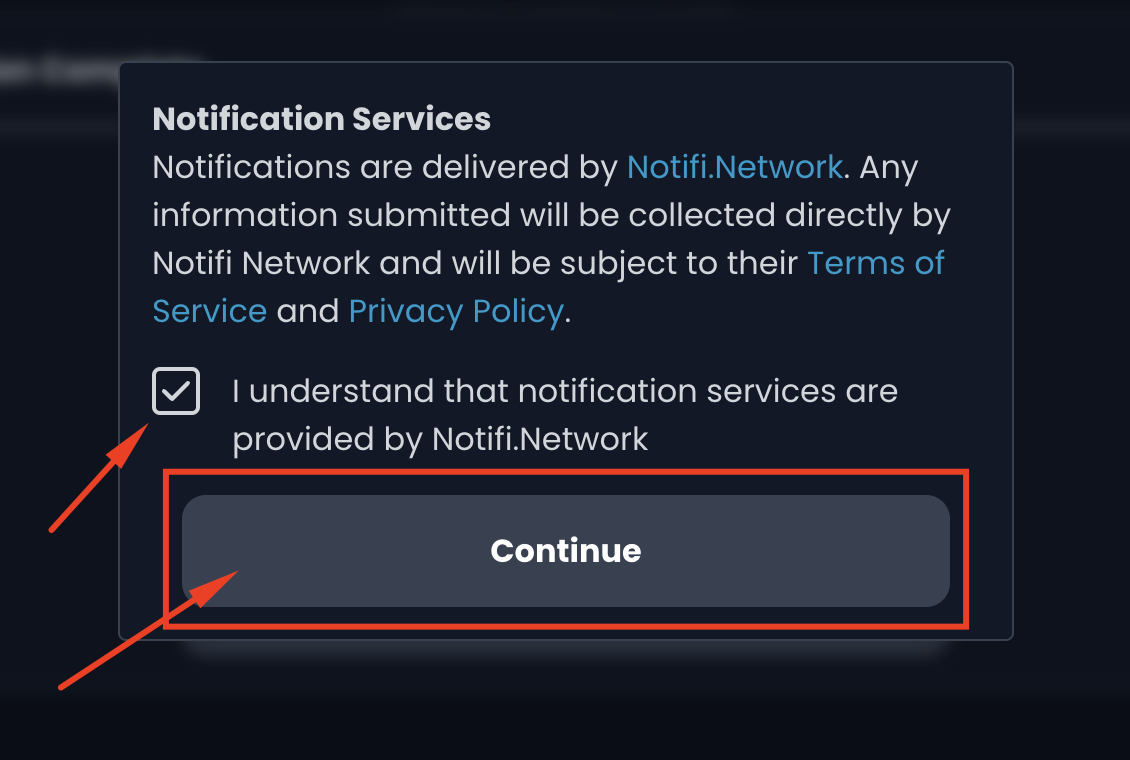
2) Confirm that you understand that a third party (Notifi.Network) is providing notification services by clicking the checkbox and clicking the “Continue” button.
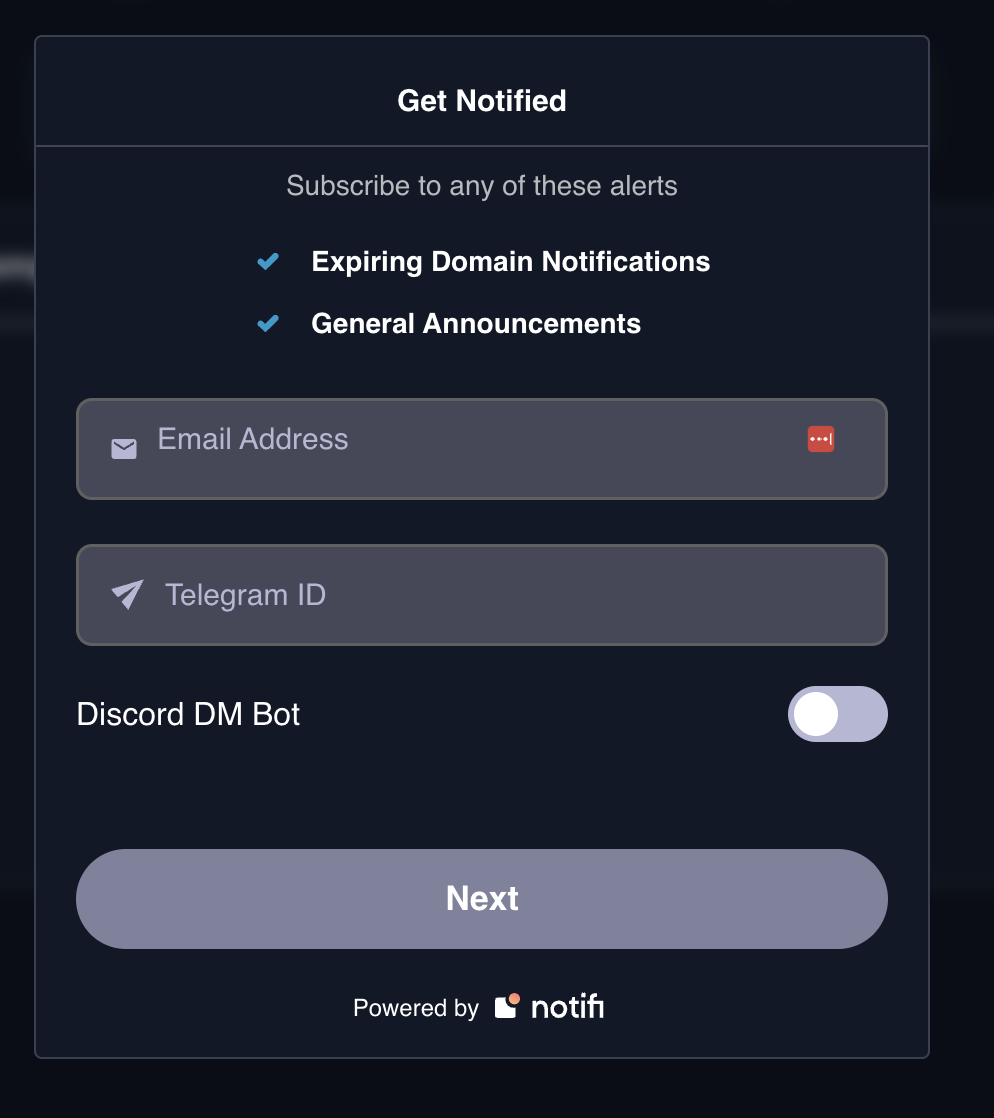
3) You can choose between 3 different notification methods: email, Telegram and Discord DM bot. Enter your information in the fields or click the toggle button next to the “Discord DM bot” option. Click “Next” to continue. Sign the message for Notifi that pops up in your wallet.
4) Once you confirm your email by clicking the link received in your inbox by Notifi, the Notifi page confirms you are all set. Close this tab.

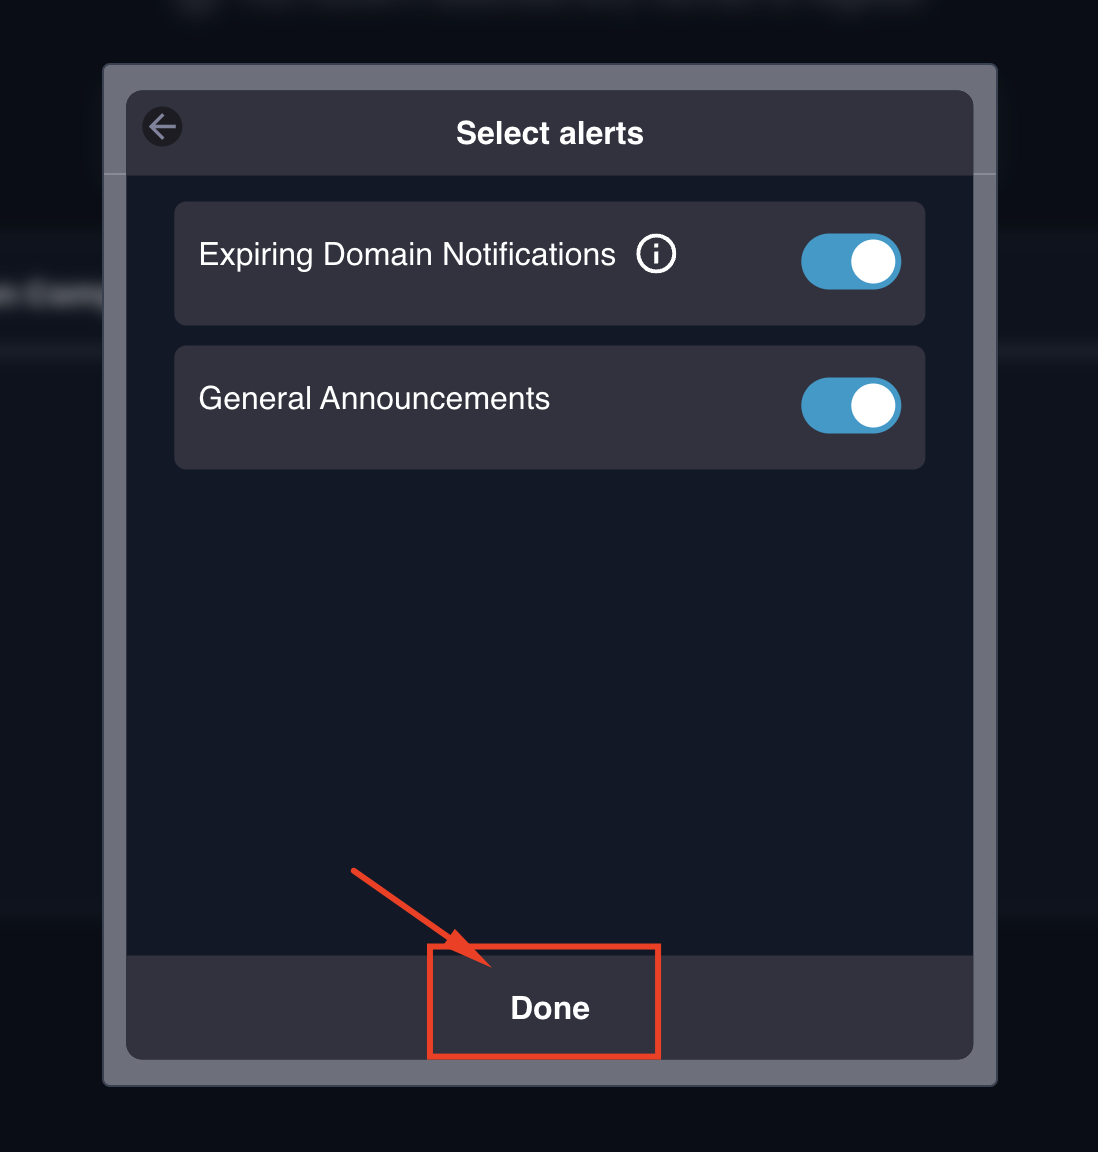
5) Go back to your Avvy Domains tab. You can select the alerts you wish to receive (expiring domain notifications, general announcements).
When you are happy with your choice, click the “Done” button.
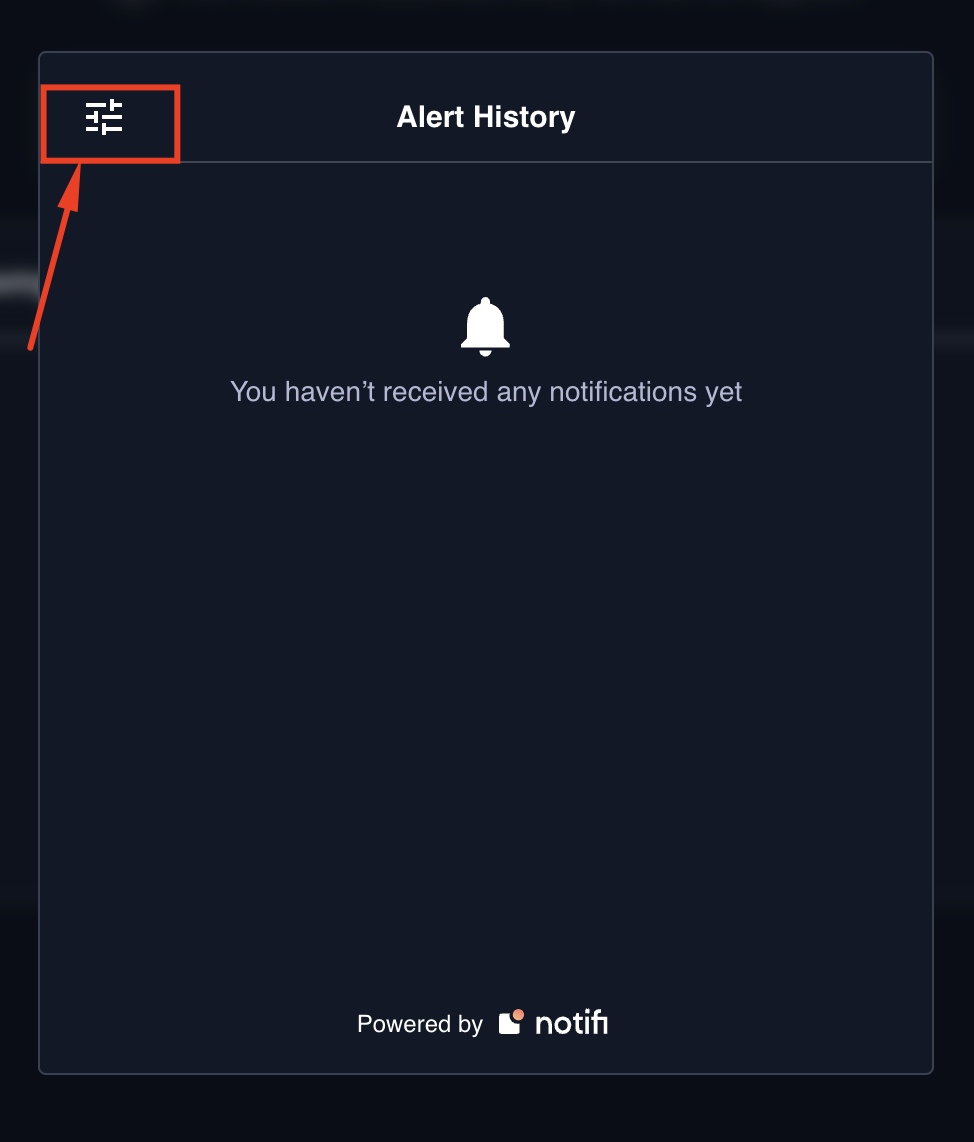
6) The “Alert History” window appears. Click the Settings icon if you wish to adjust your notification settings. Click outside of the “Alert History” window to make the window disappear.
1) We can now configure our primary domain by clicking the “Configure my primary domain” button in the window that appears.
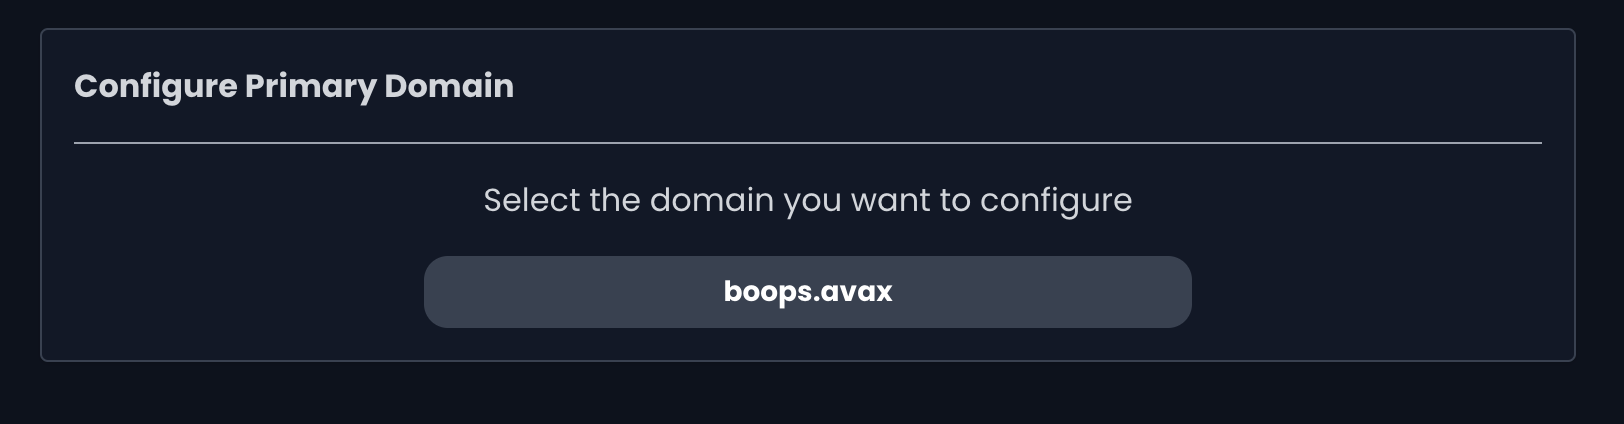
2) In the next window, select the domain you want to configure.
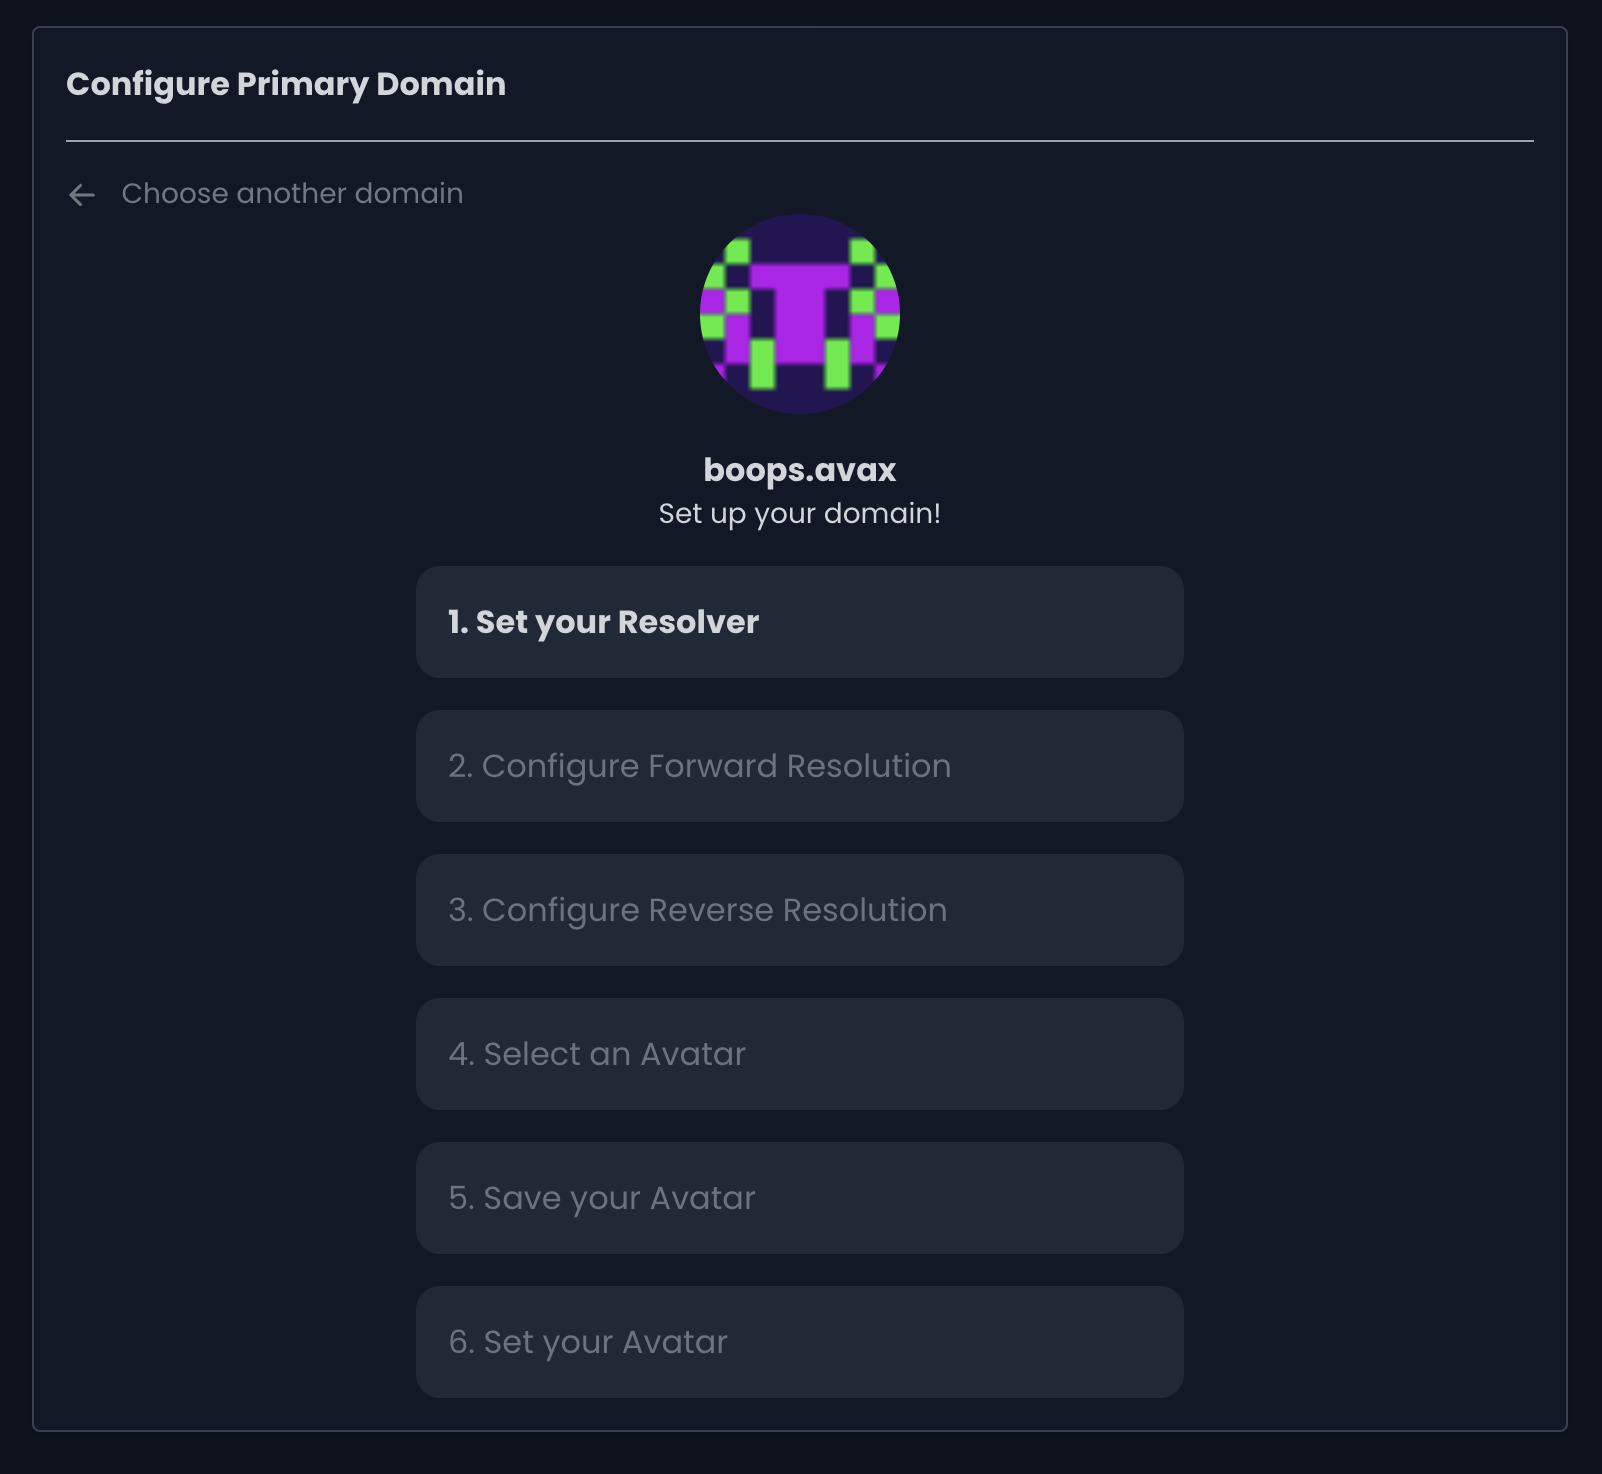
3) Click the “Set your Resolver” option. Confirm the transaction that pops up in your wallet.
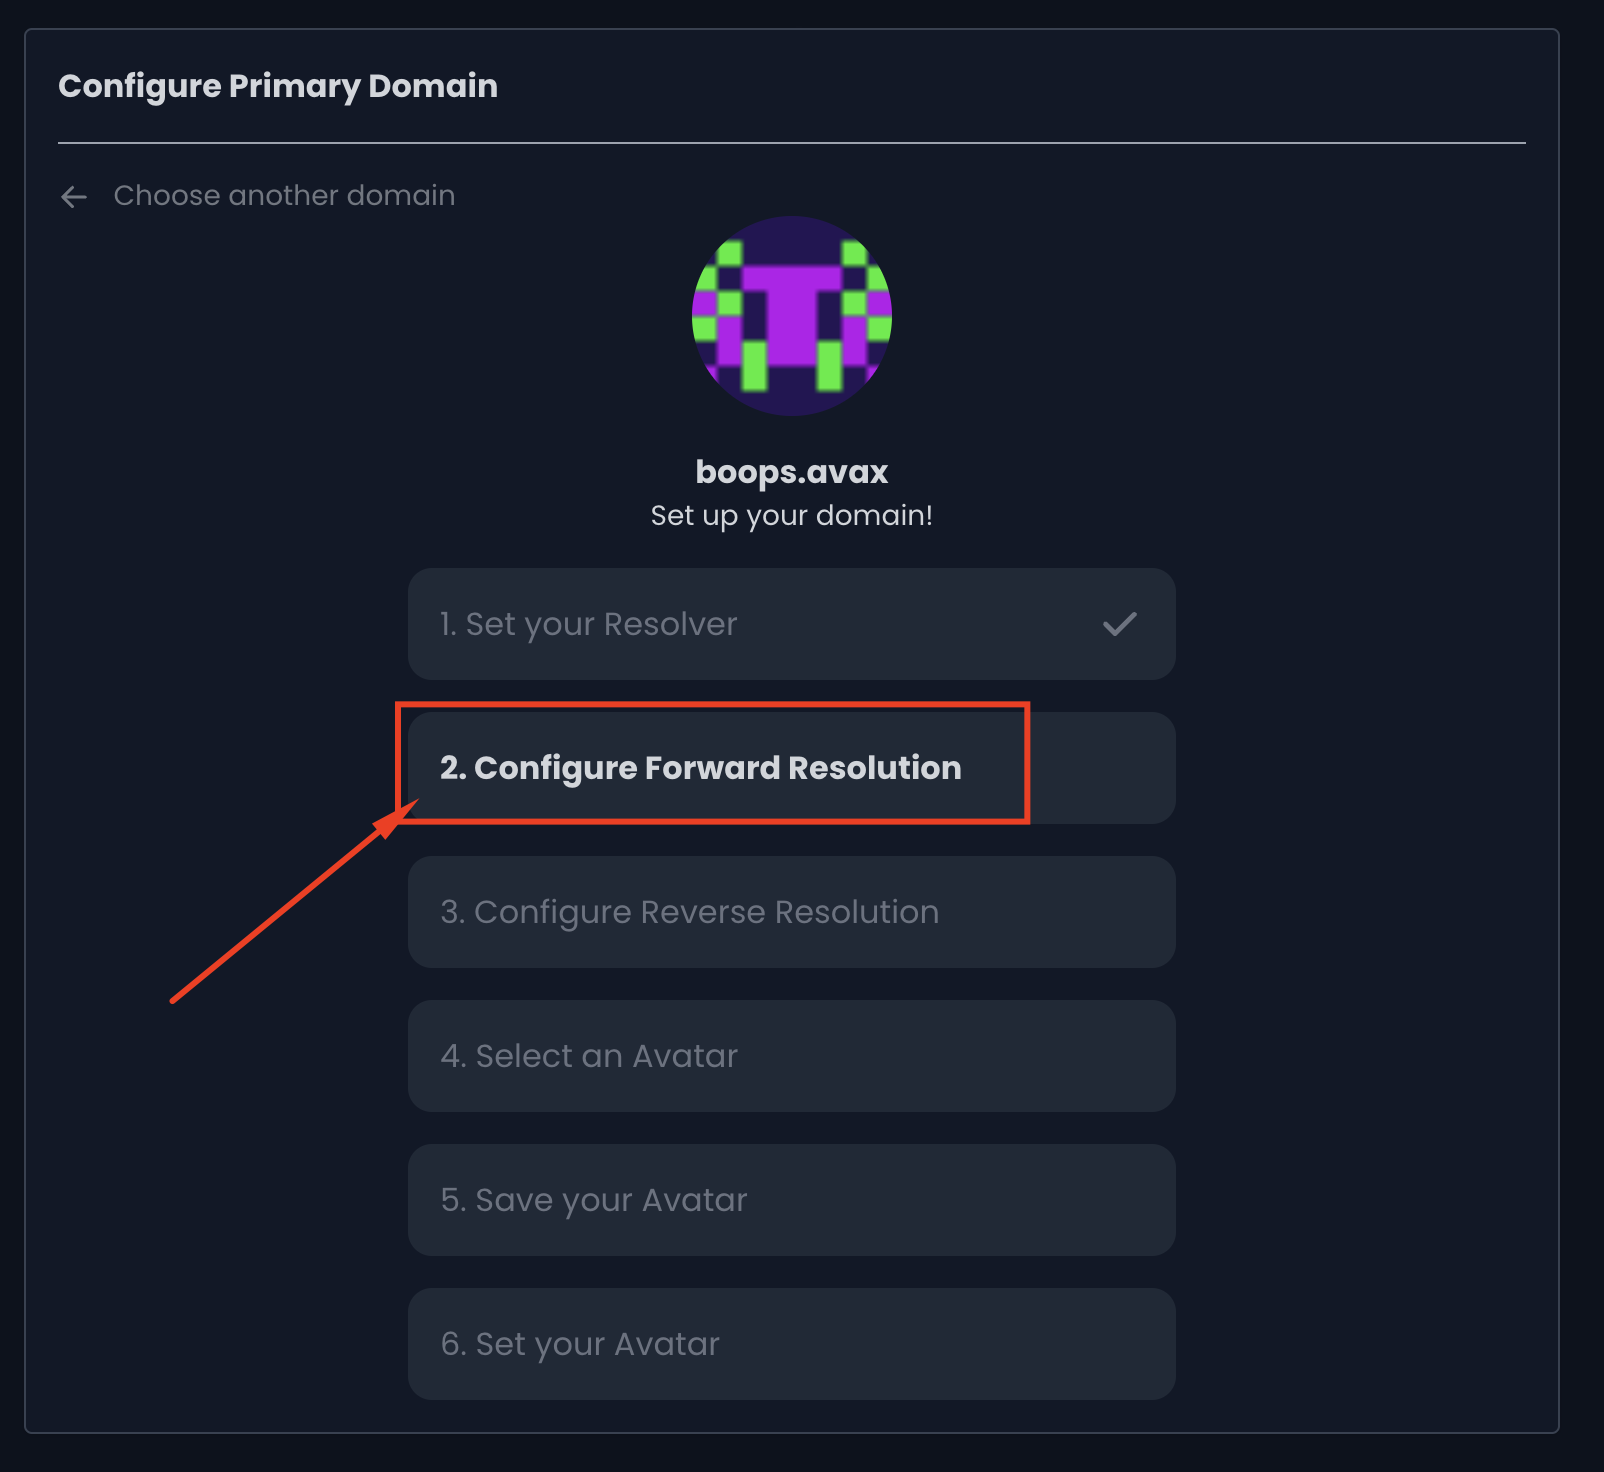
4) Continue the configuration by clicking the “Configure Forward Resolution” button. Confirm the transaction when prompted.
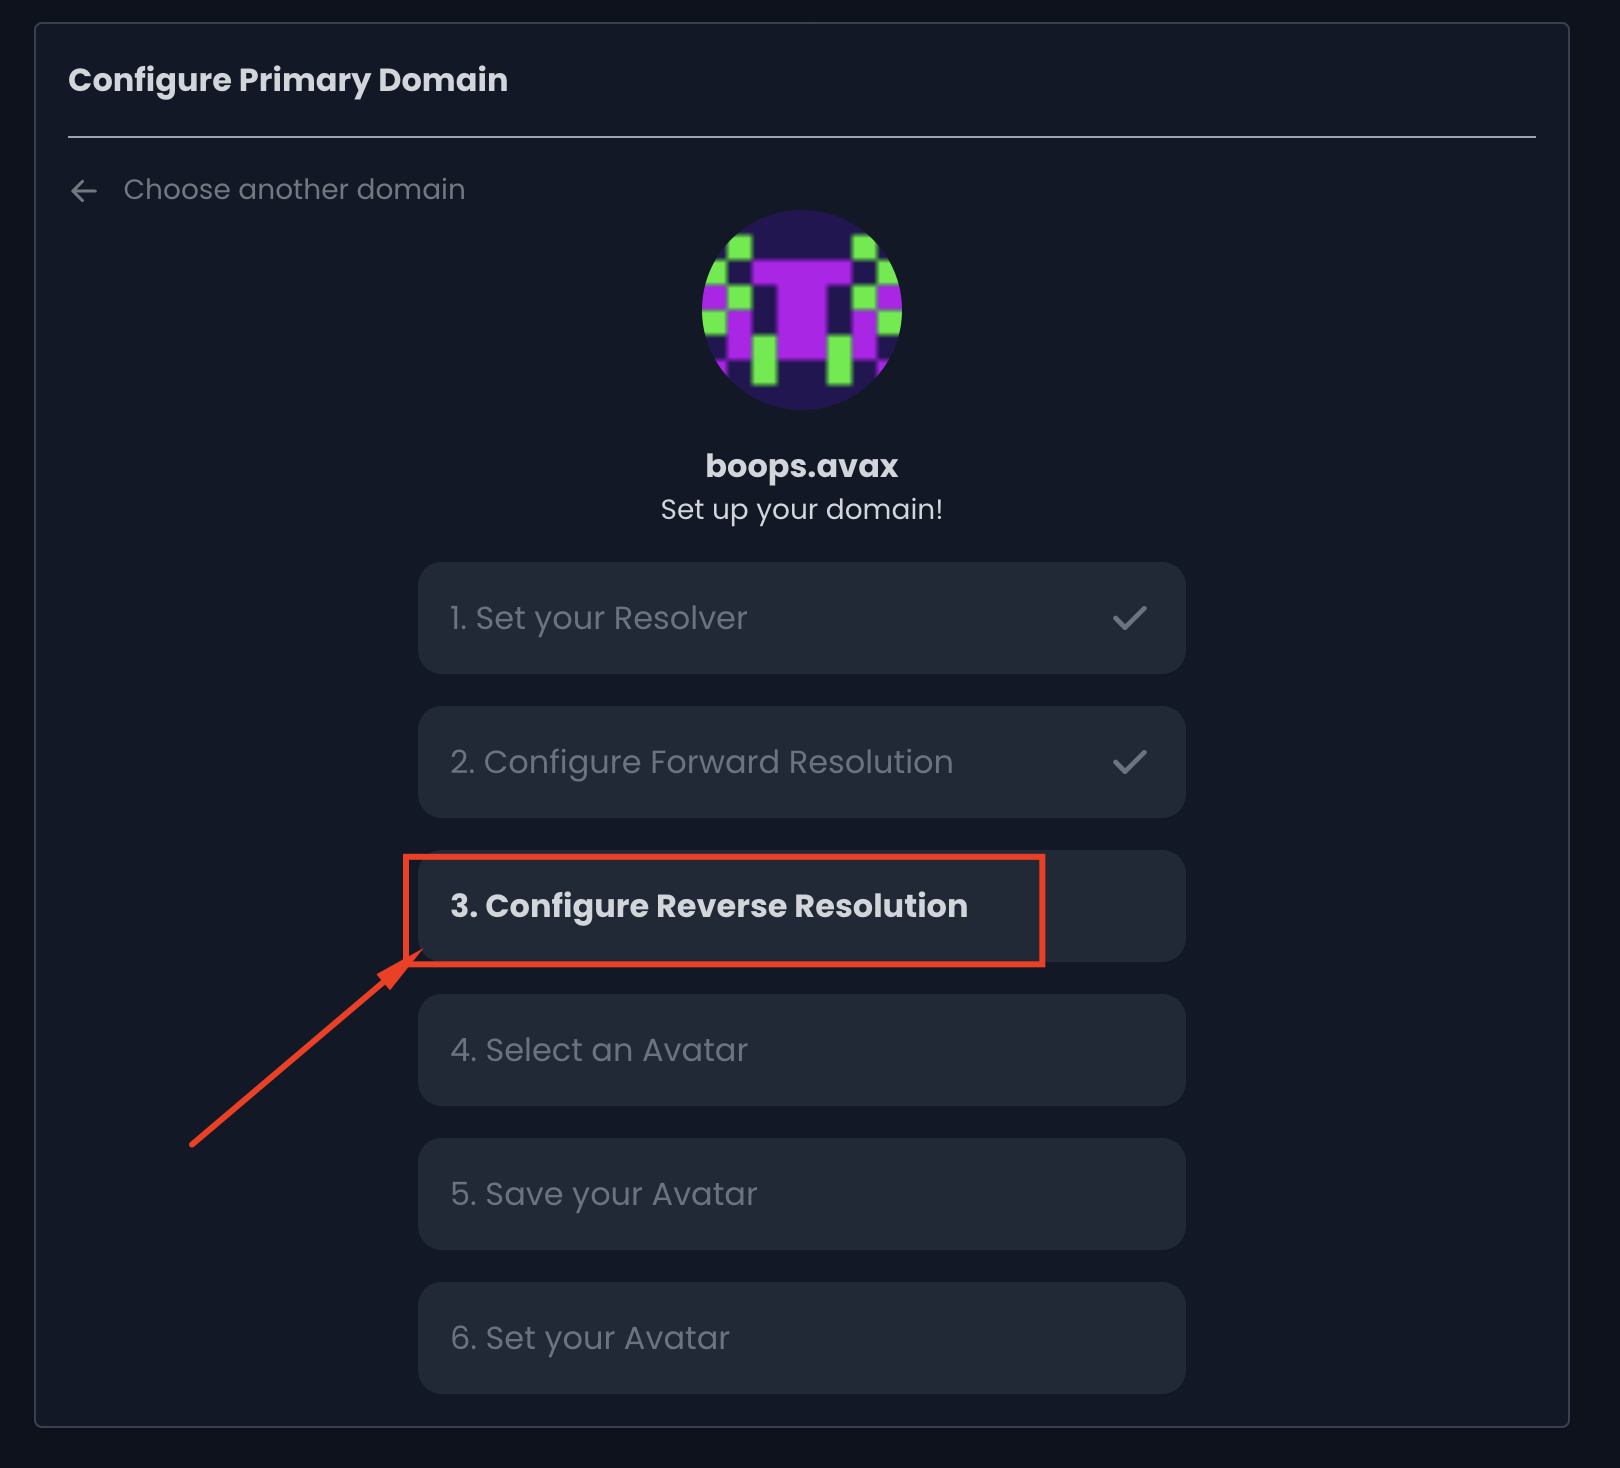
5) Continue by clicking the “Configure Reverse Resolution” button. Confirm the transaction when prompted.
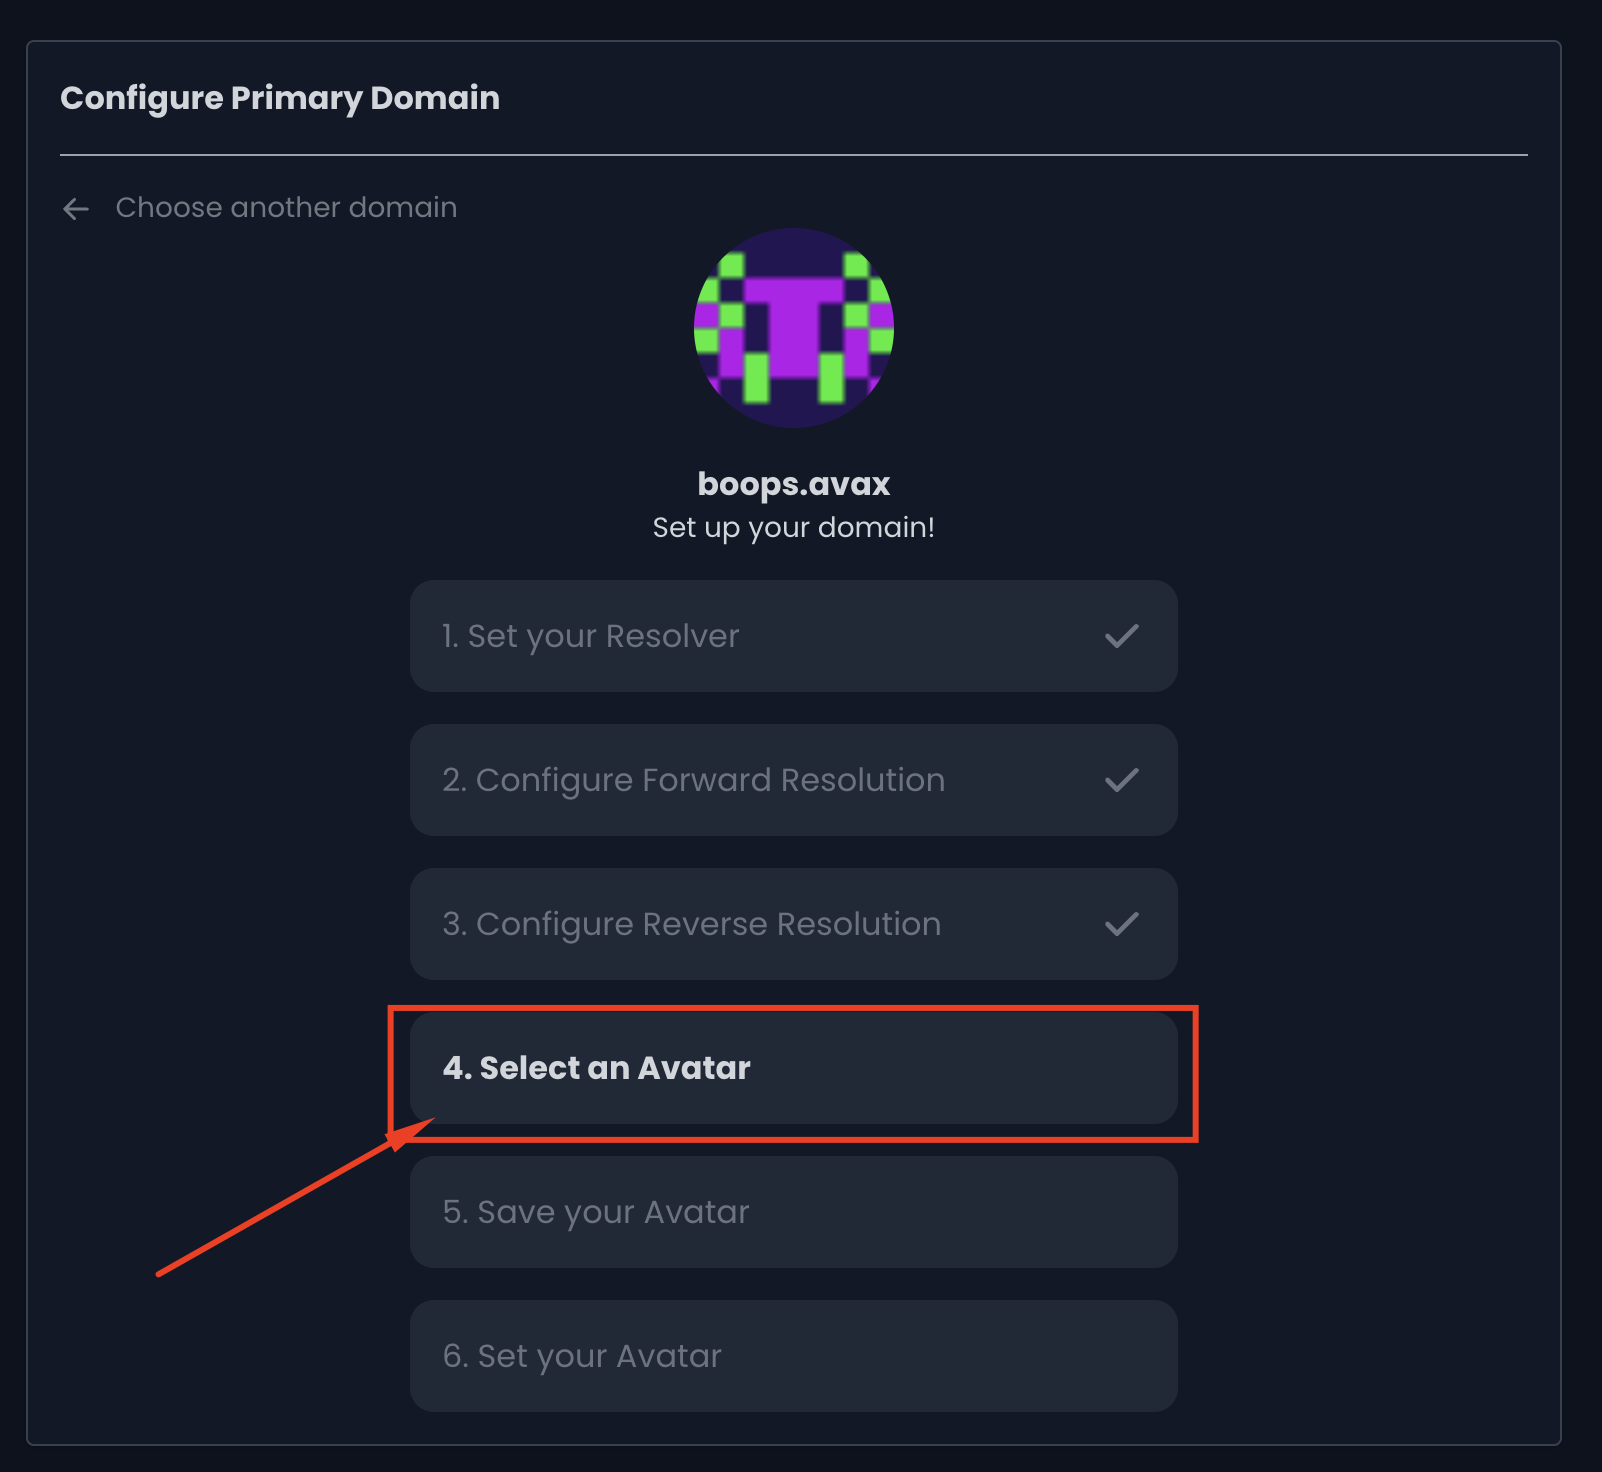
6) You can now select your avatar by clicking the “Select an Avatar” button. Select an image from your computer in the window that pops up.
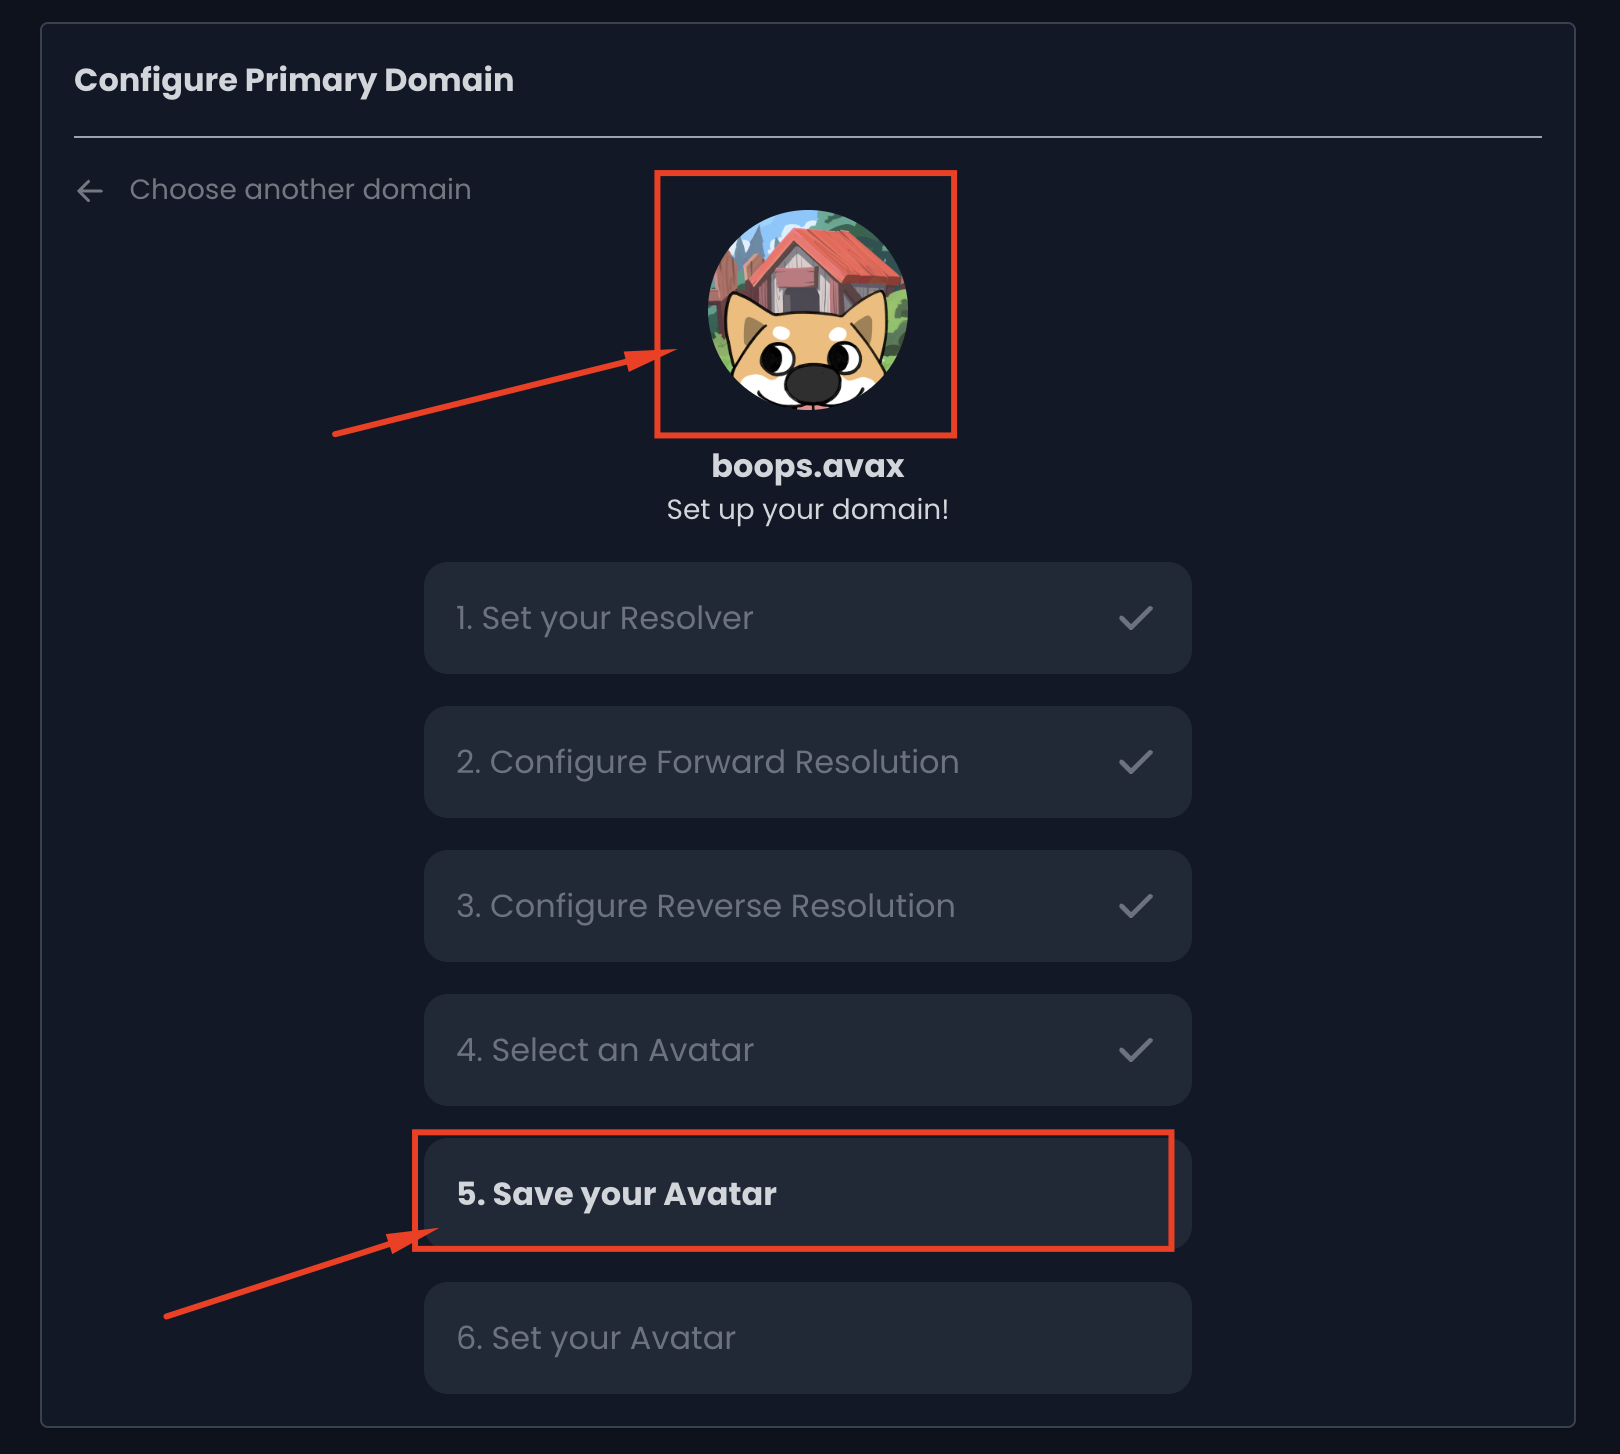
7) The image you selected appears above your domain name. Click the “Save your Avatar” button to save the image. Sign the message request in the wallet when prompted.
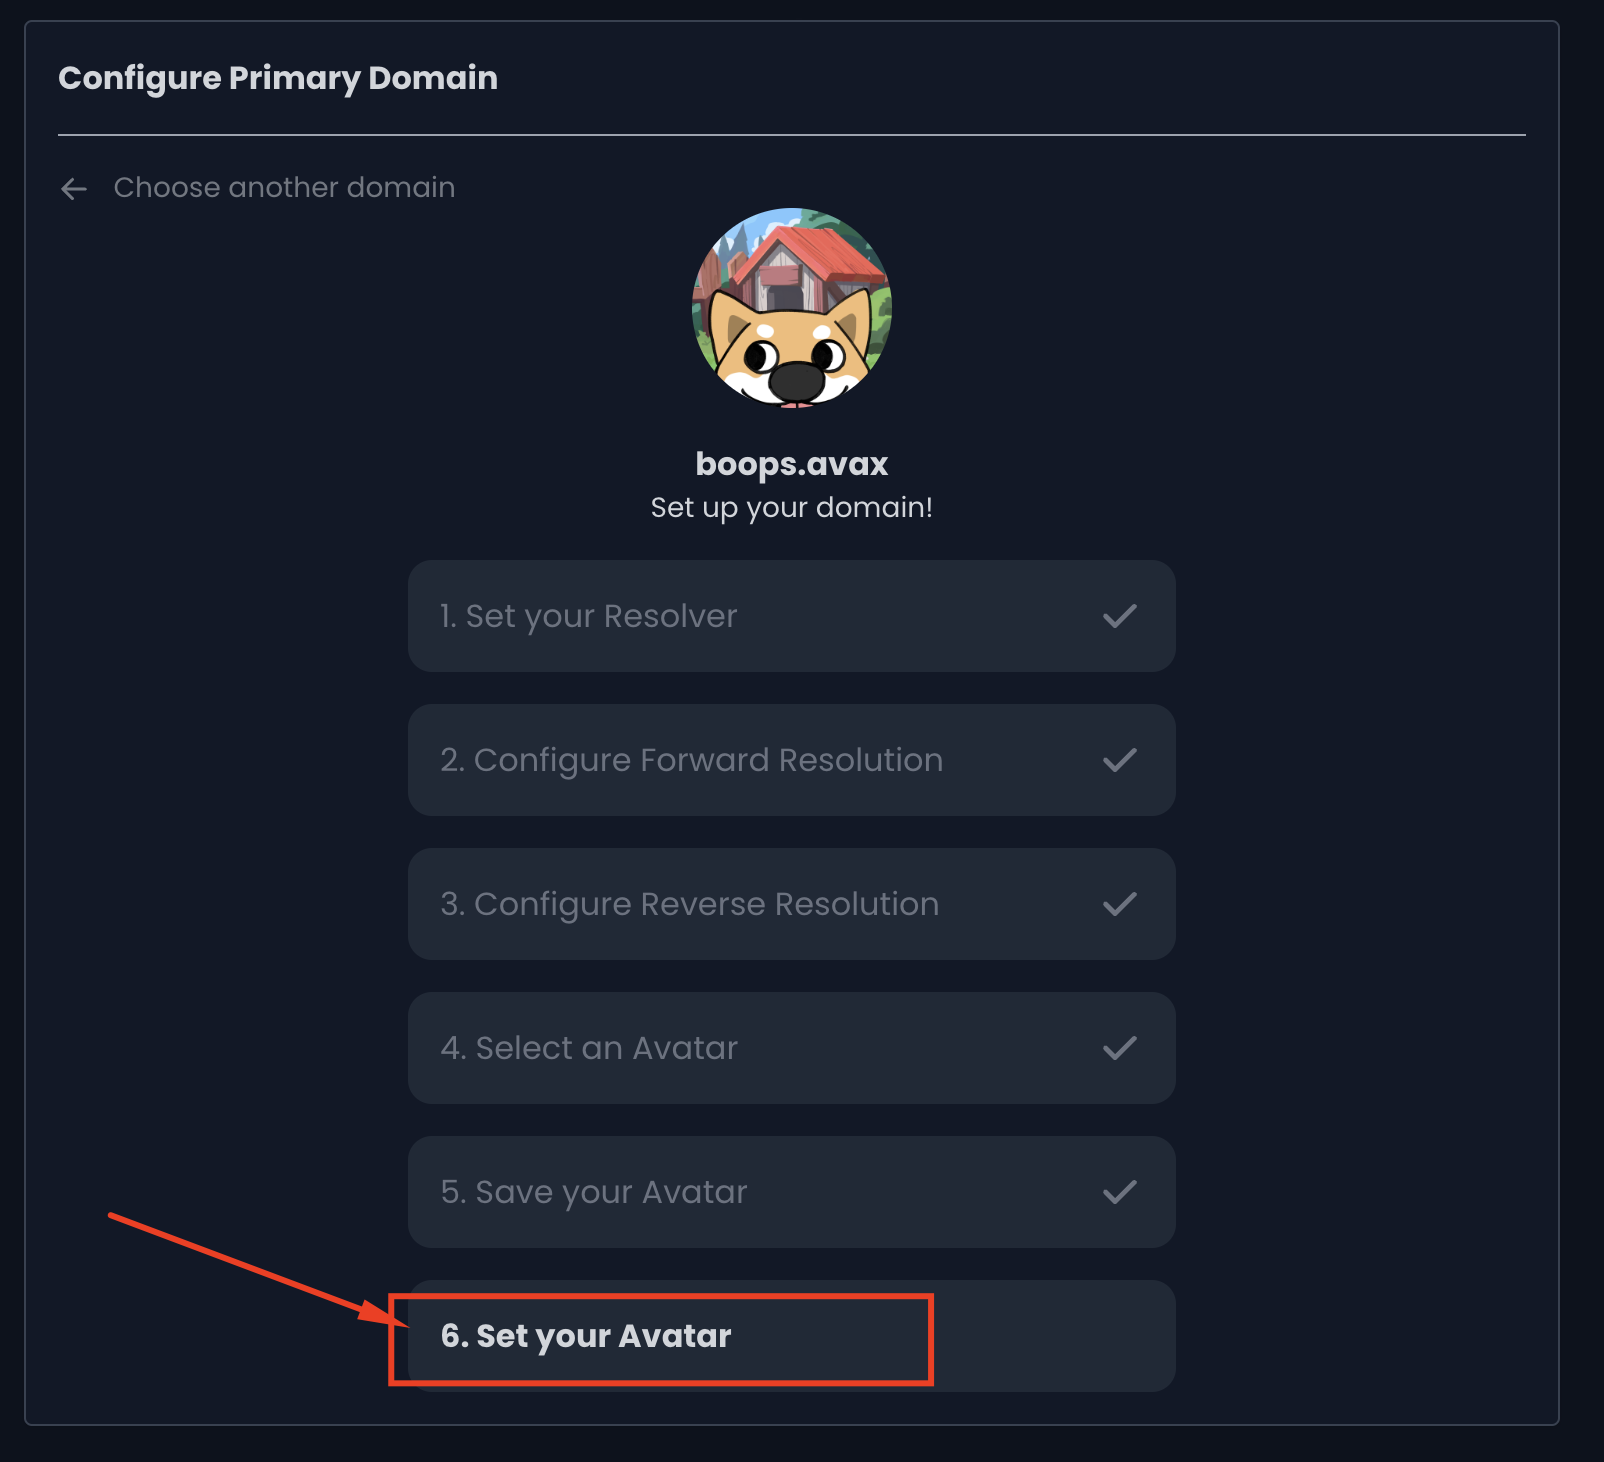
8) The last step is to click the “Set your Avatar” button to finish the configuration. Confirm the transaction in your wallet when prompted.
9) Your domain has been configured. If you wish to change your avatar, you can do so by clicking the “Change Image” button.
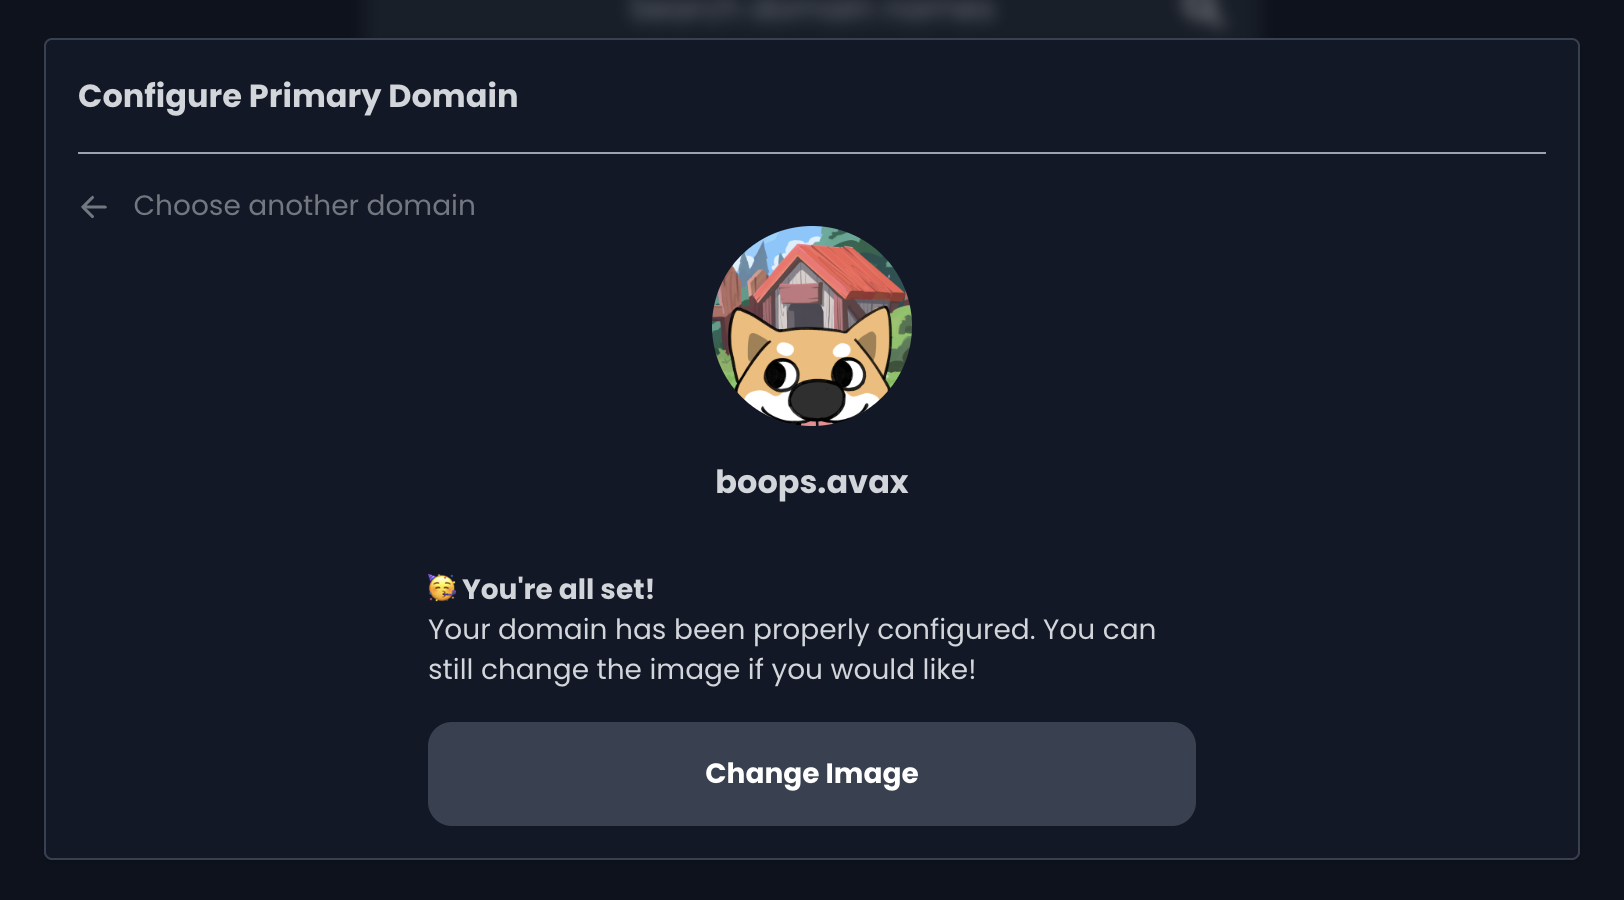
10) Congratulations, you are all set!